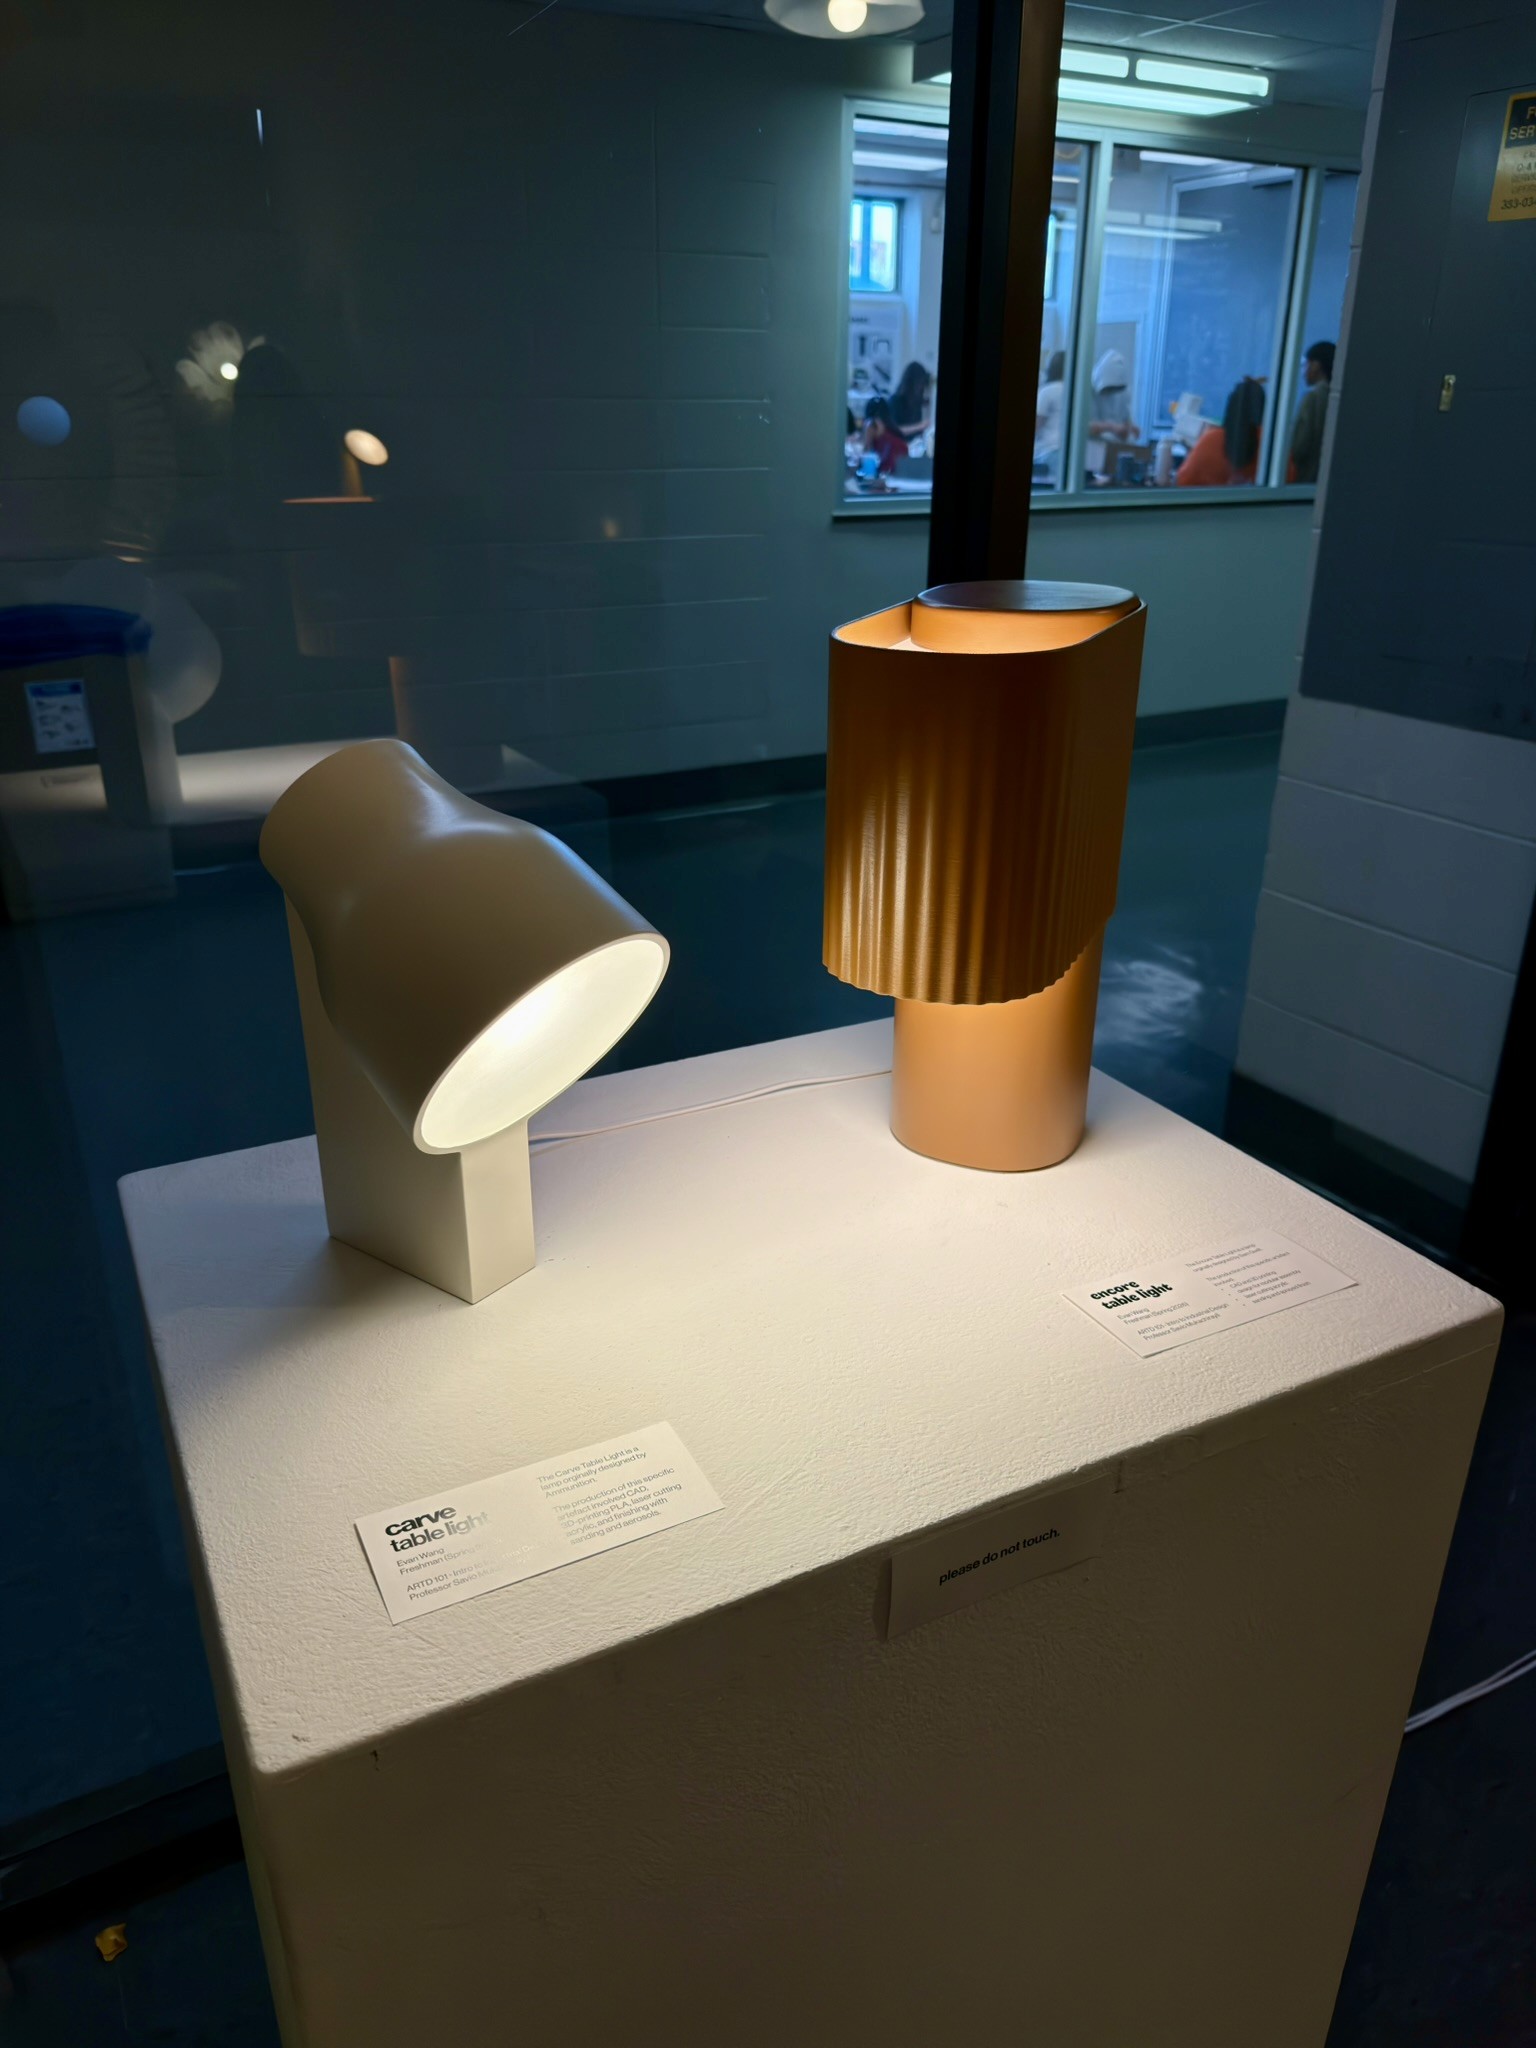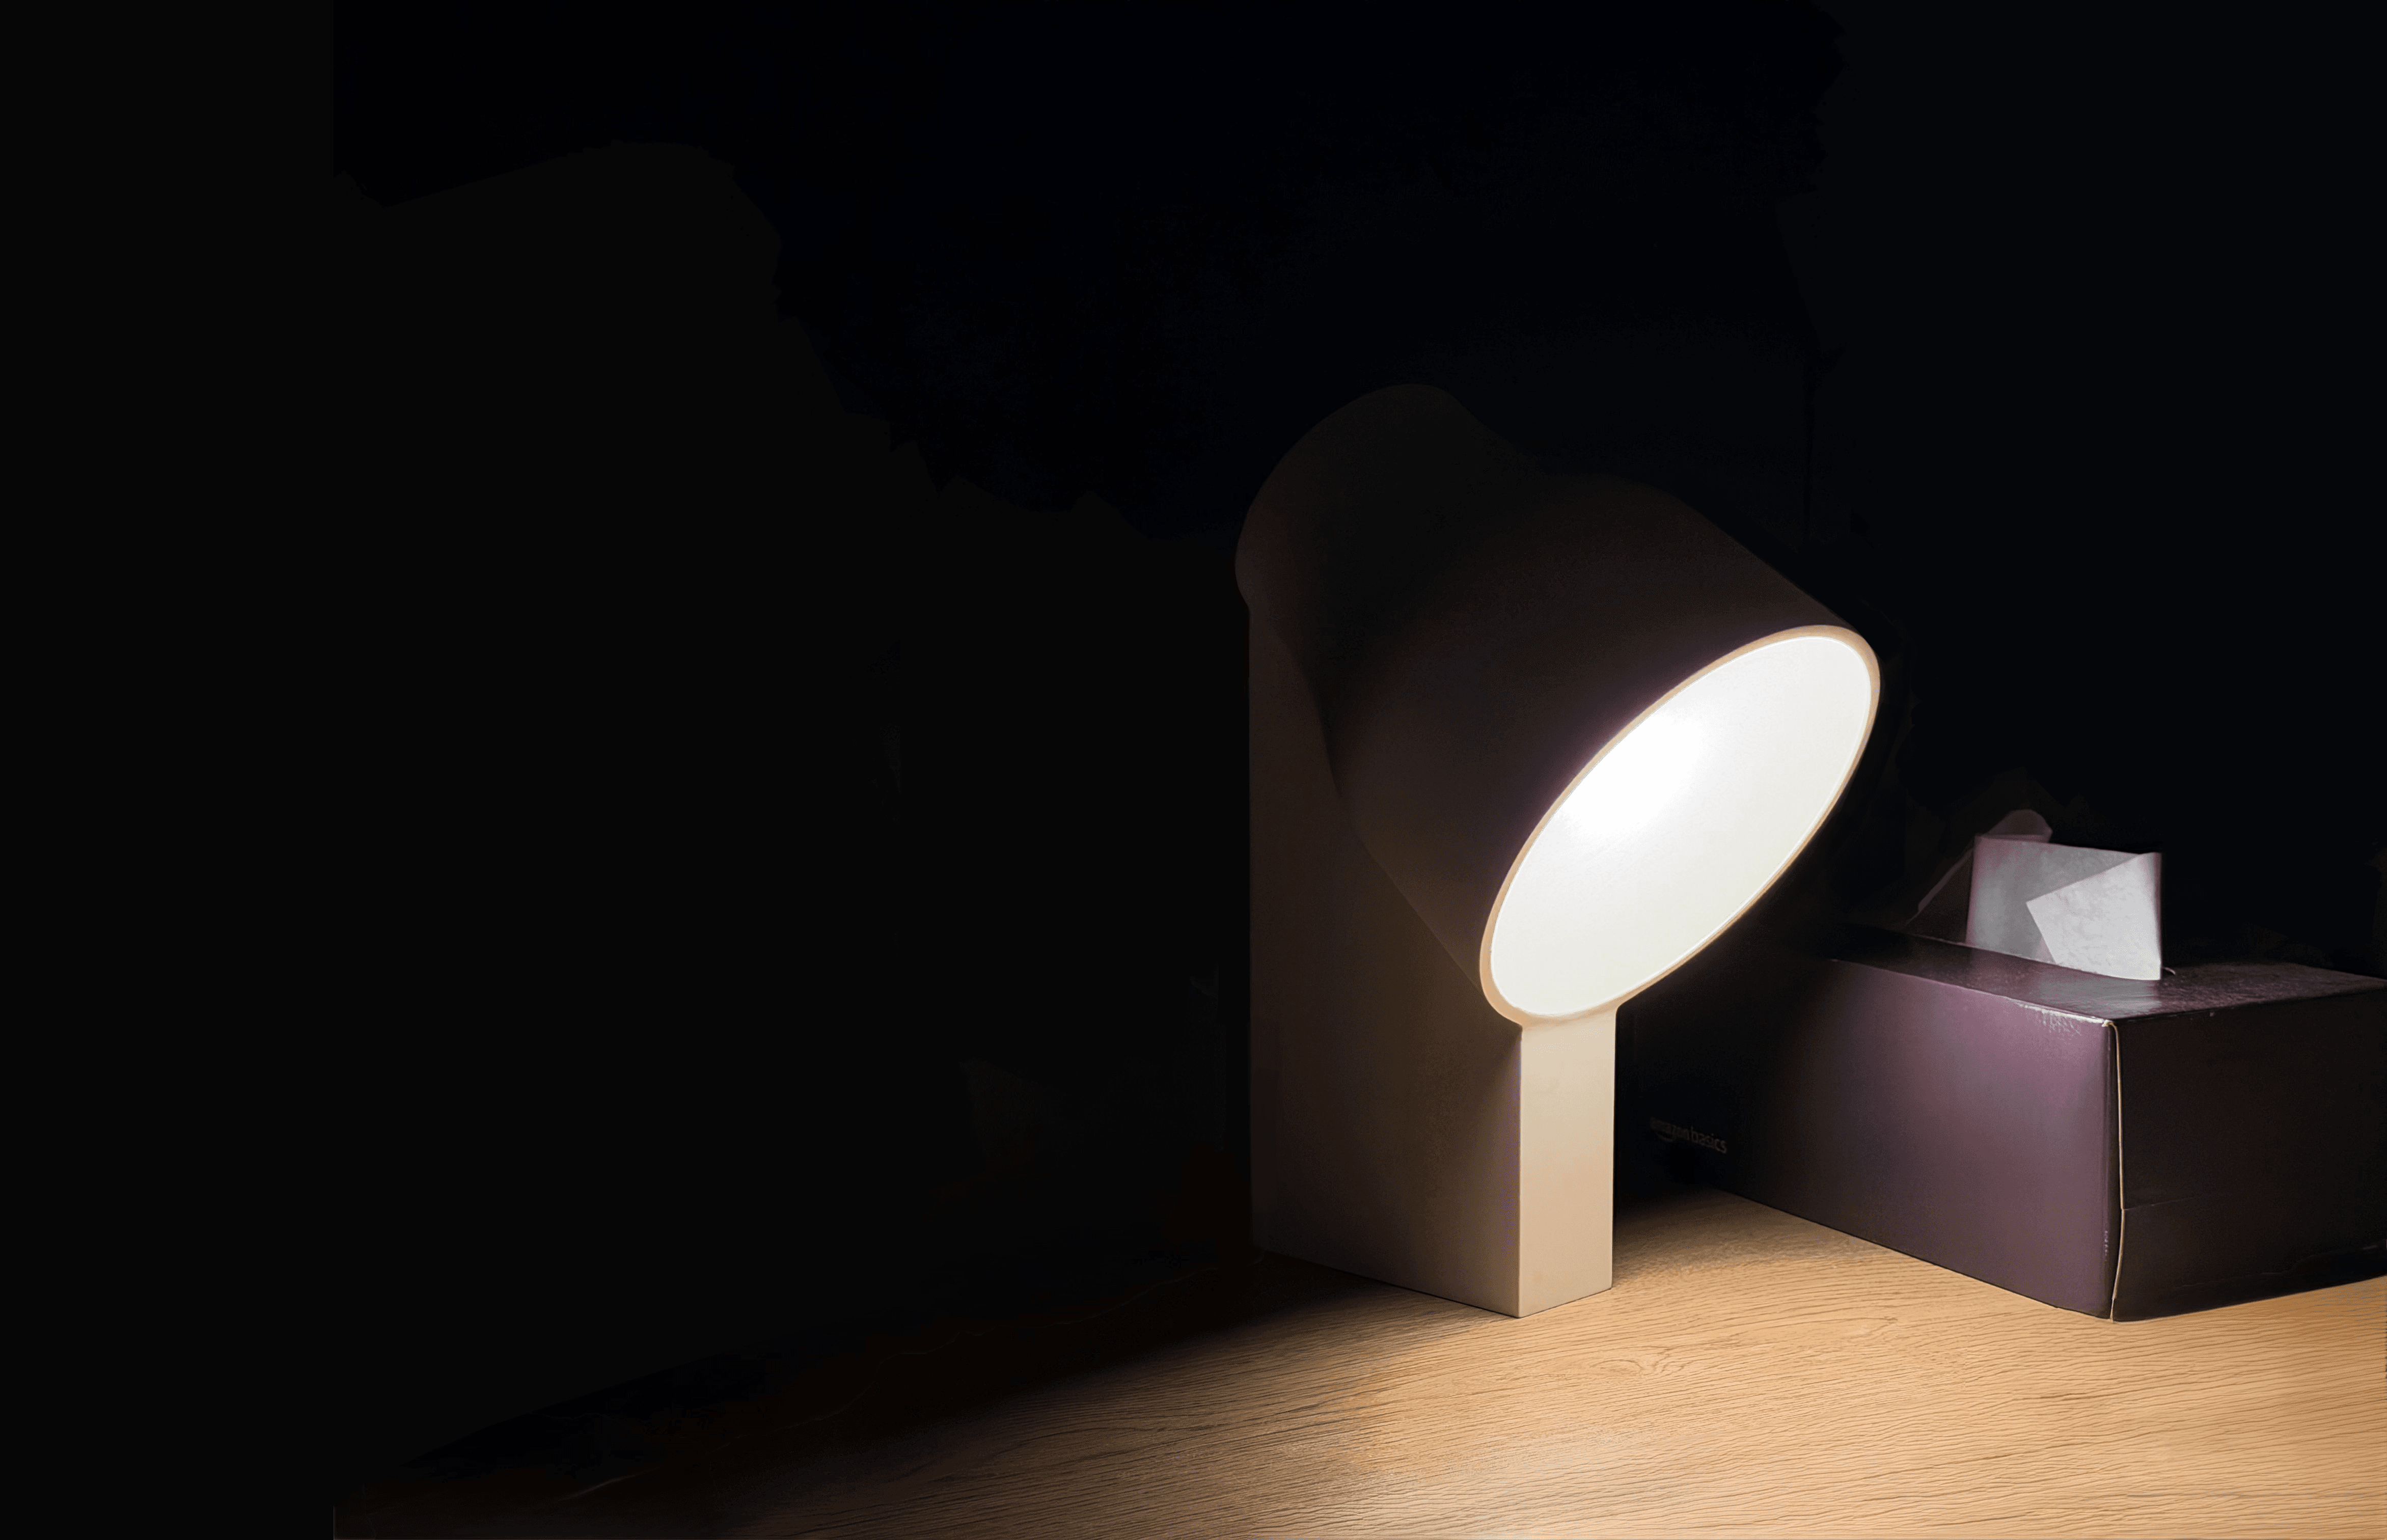
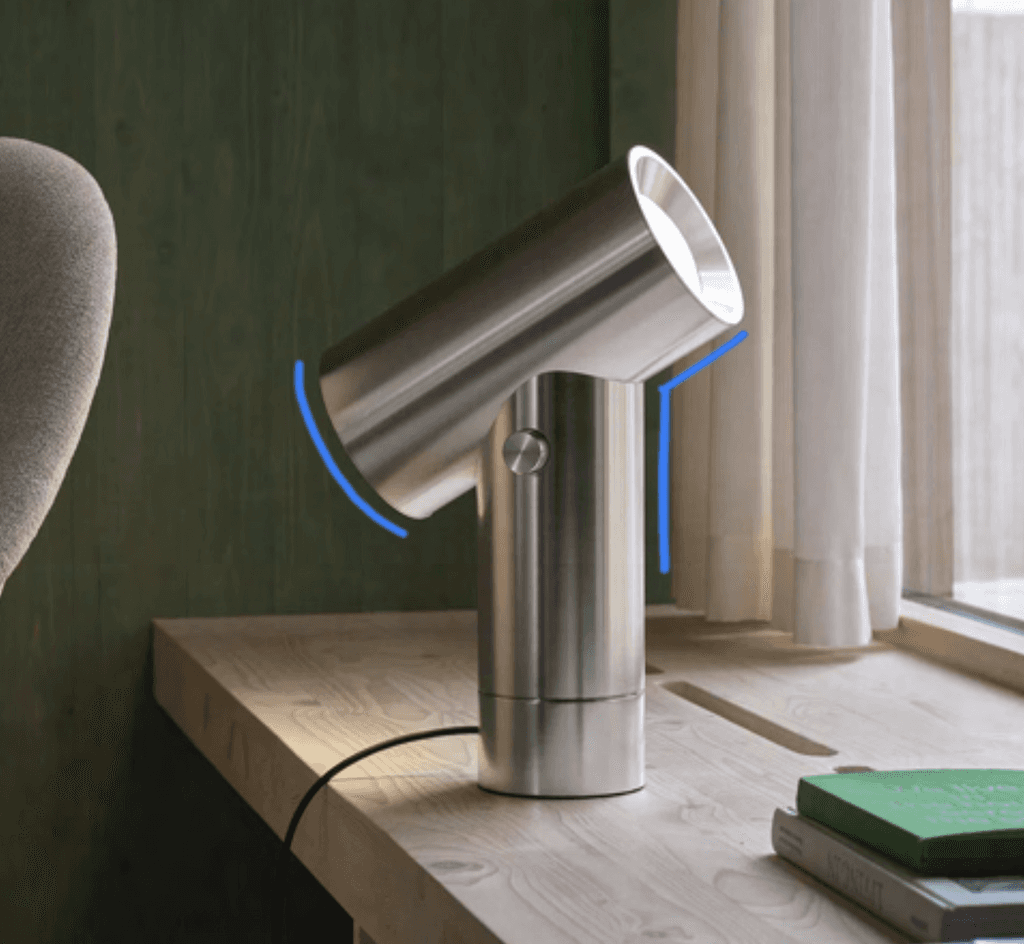
In this project, I will reproduce the Carve Table Light, originally designed by Ammunition Group.
Individual Coursework Project
ARTD 101 • Intro to Industrial Design
Professor Savio Mukachirayil
University of Illinois Urbana-Champaign
7 weeks • Spring 2026

Process Book
my process in
six main steps
1
Drafting
Defining + Ideation
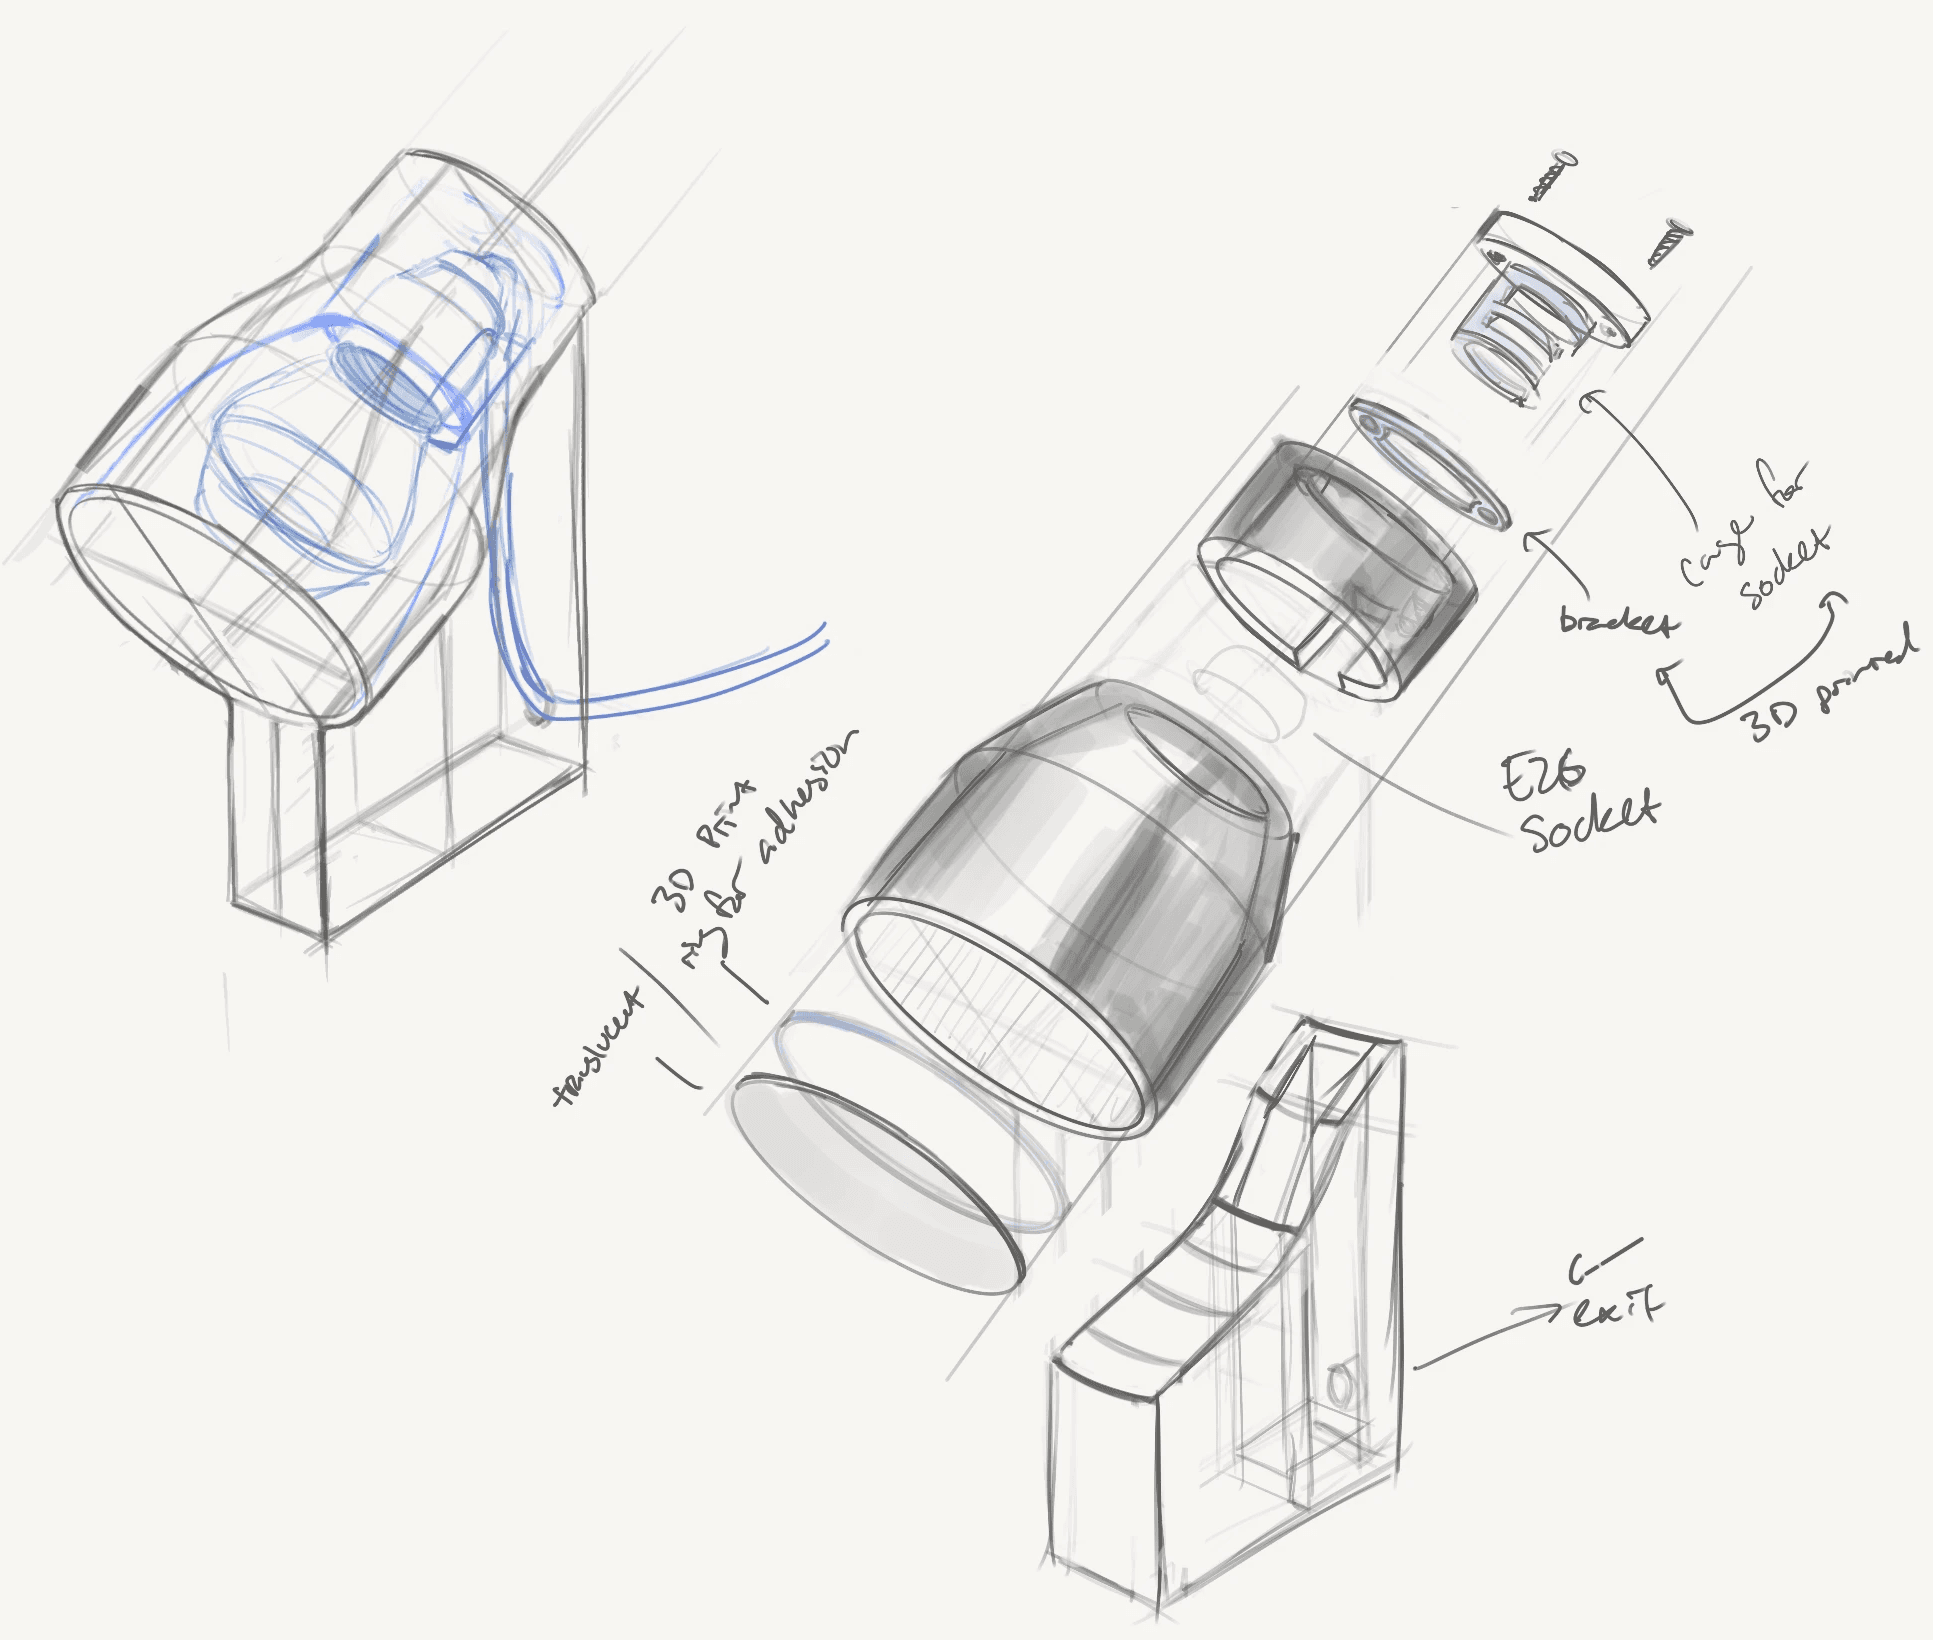
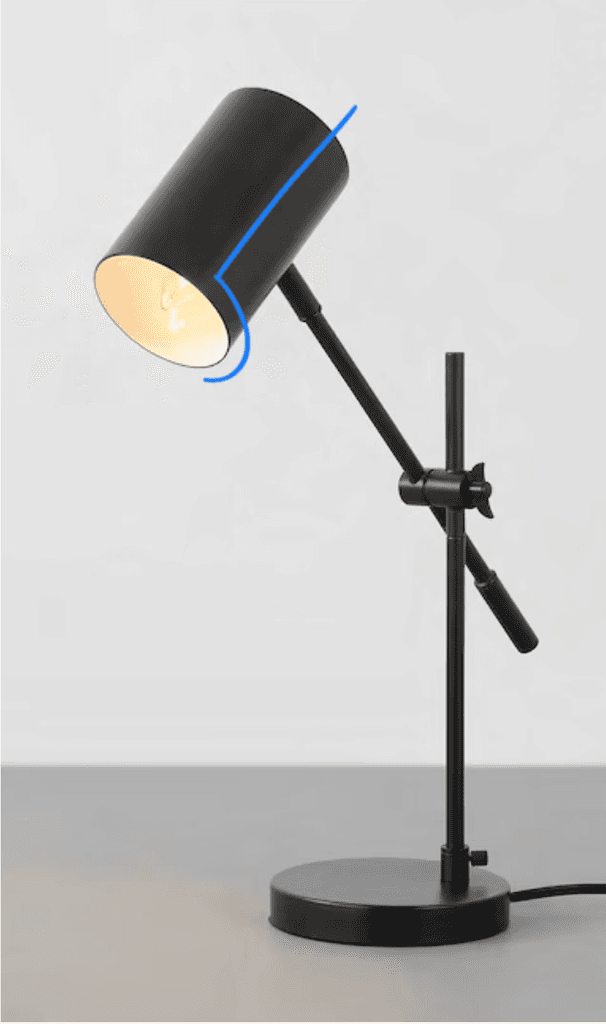
Pre-CAD sketches visualized different manufacturing methods.
3D-printing was chosen for efficiency and precision.
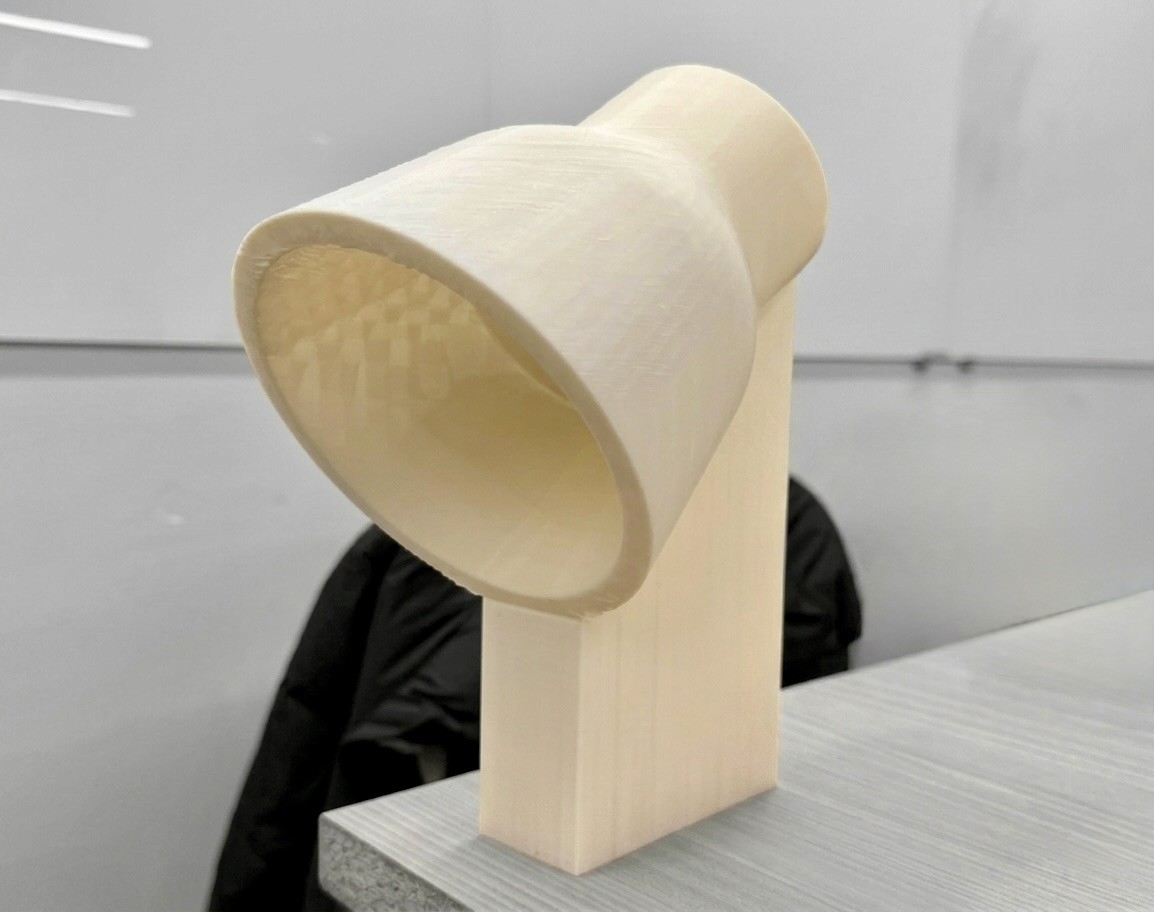
A size-accurate reference was 3D printed to help with spatial understanding.
2
CAD
Ideation + Prototyping
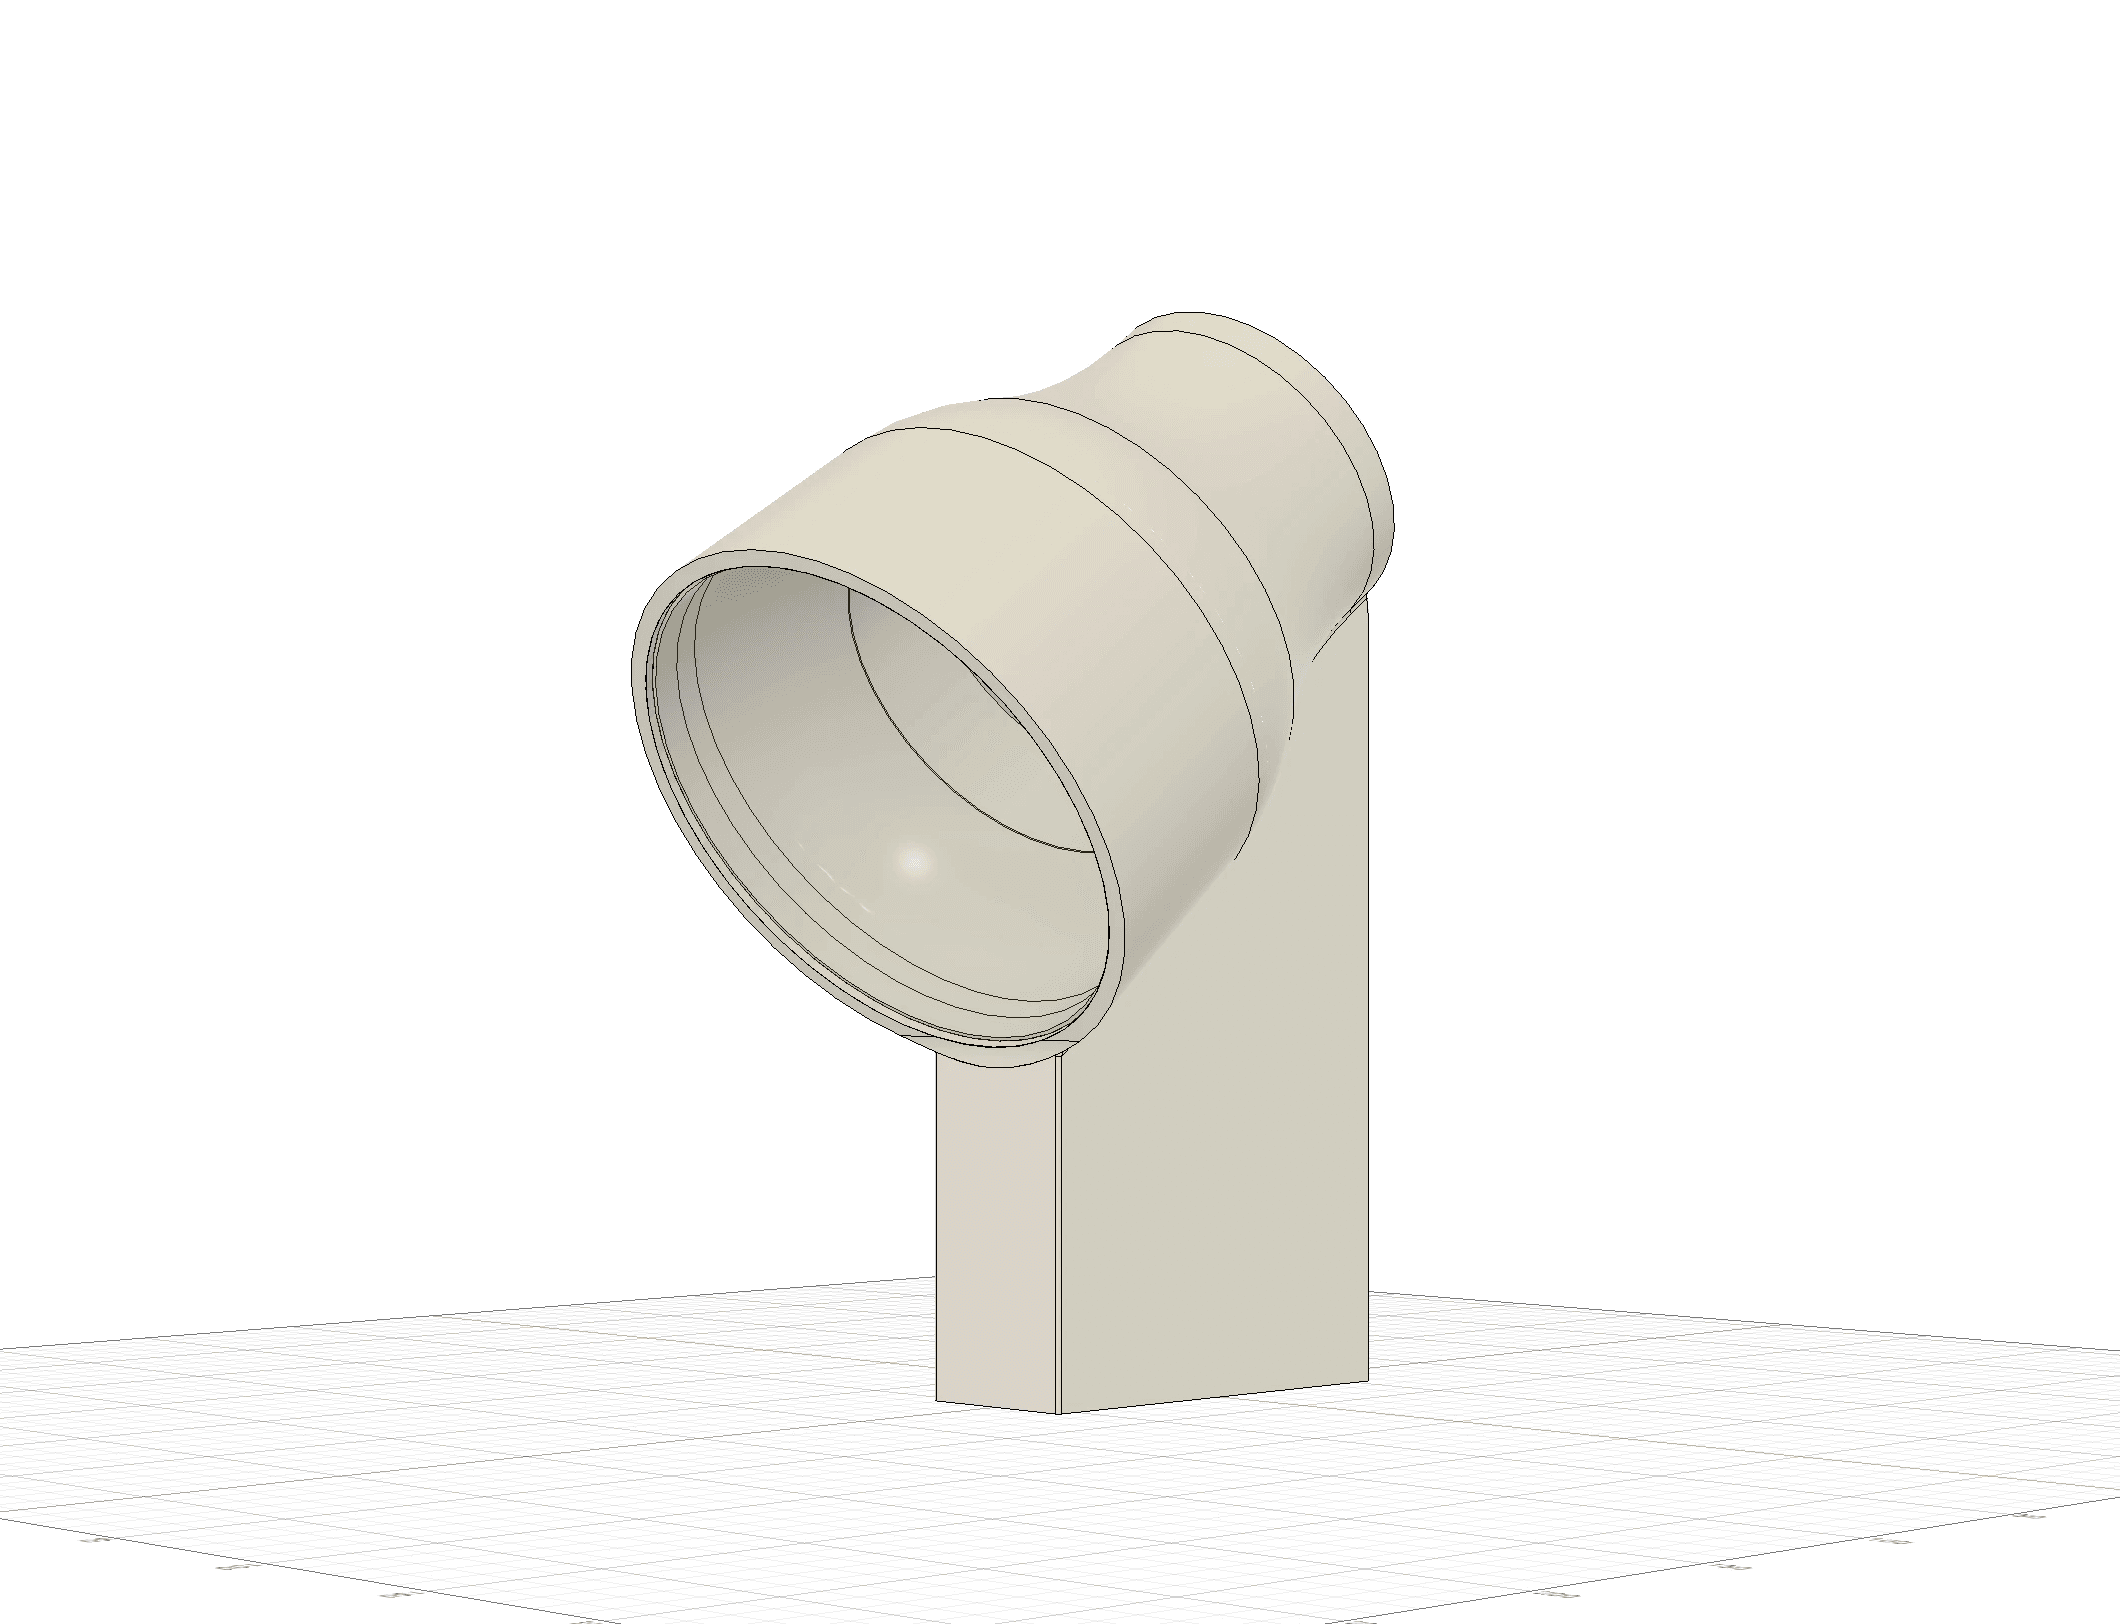
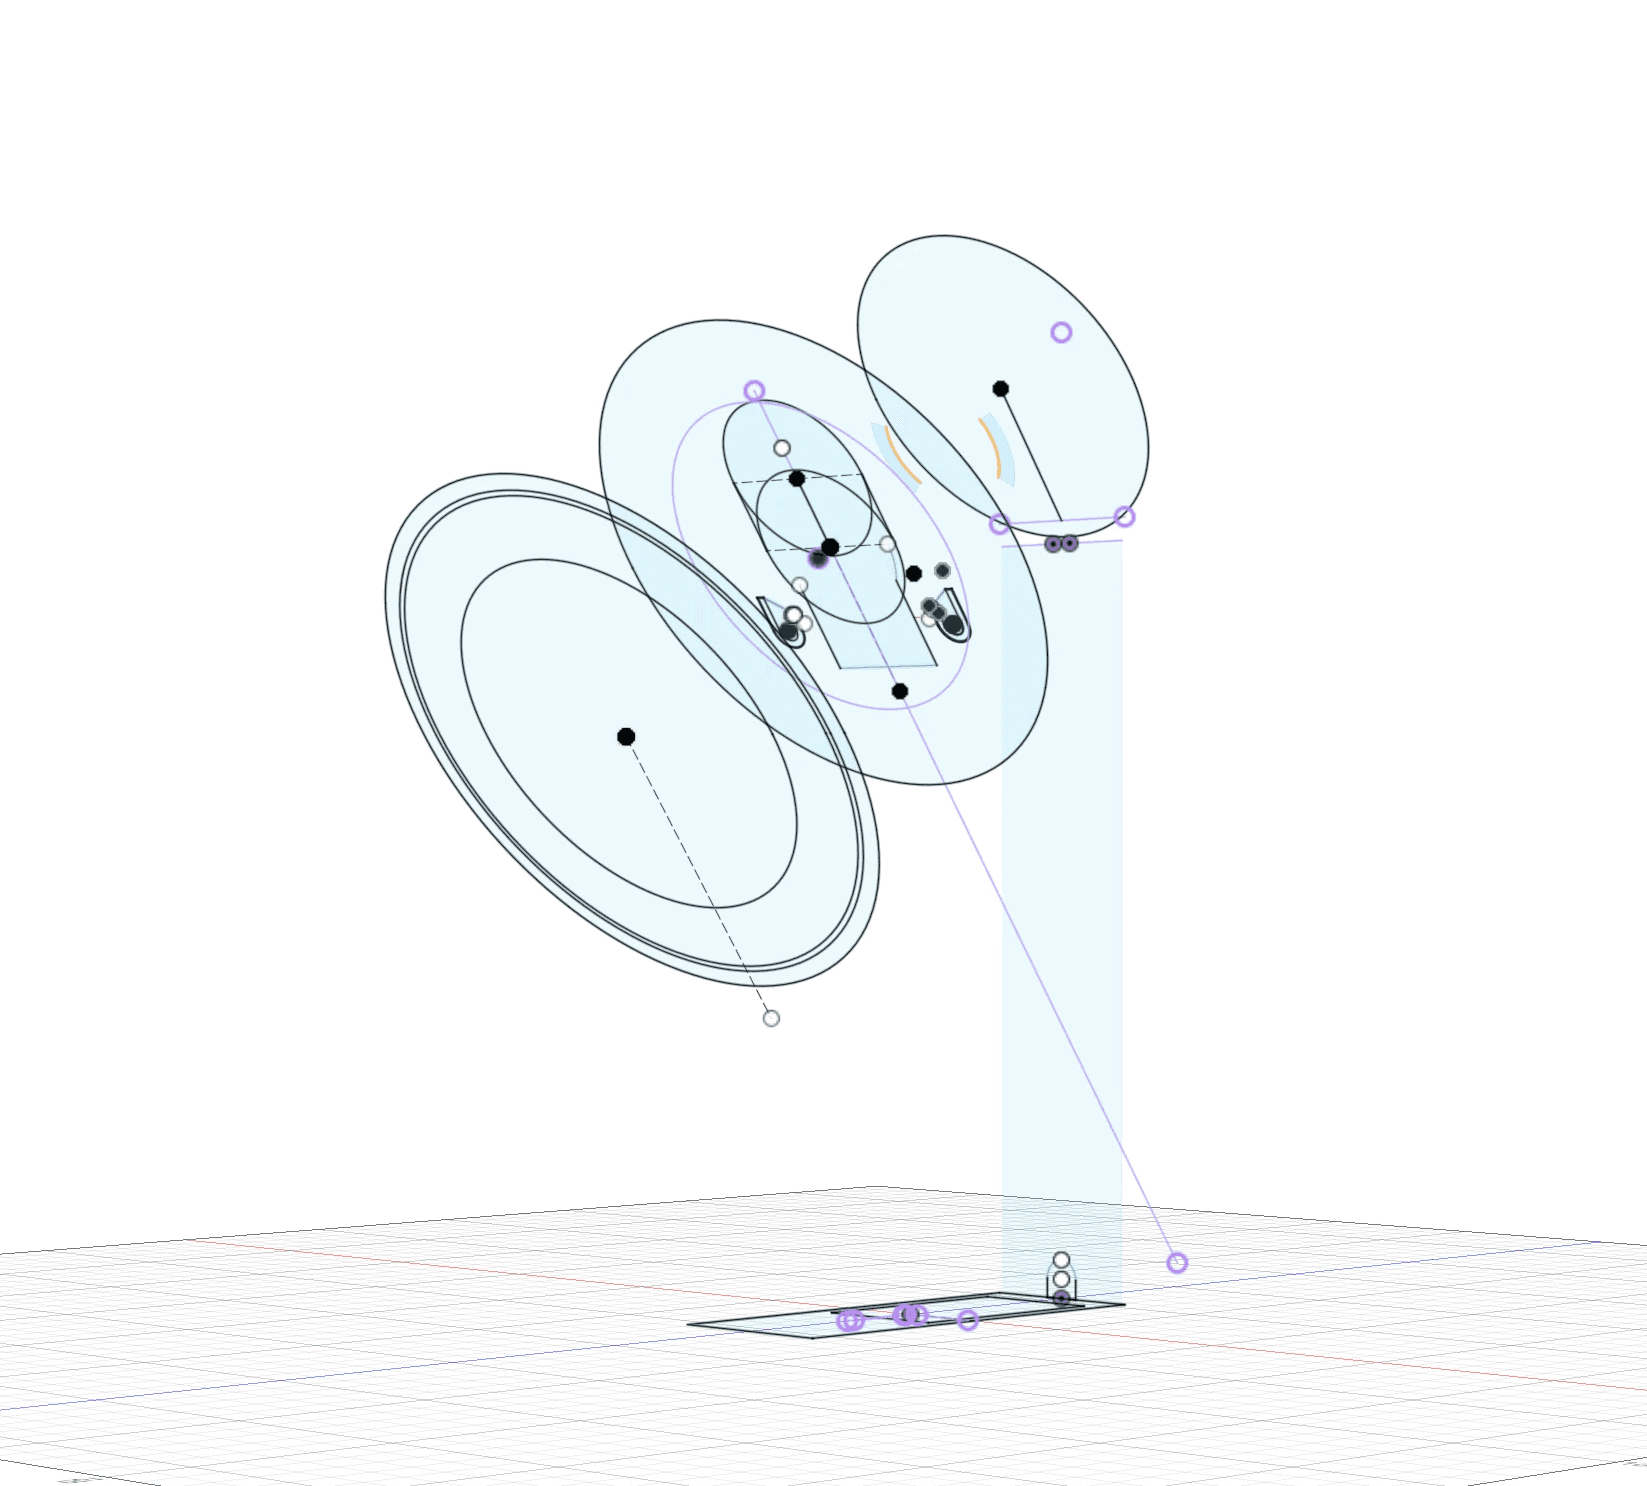
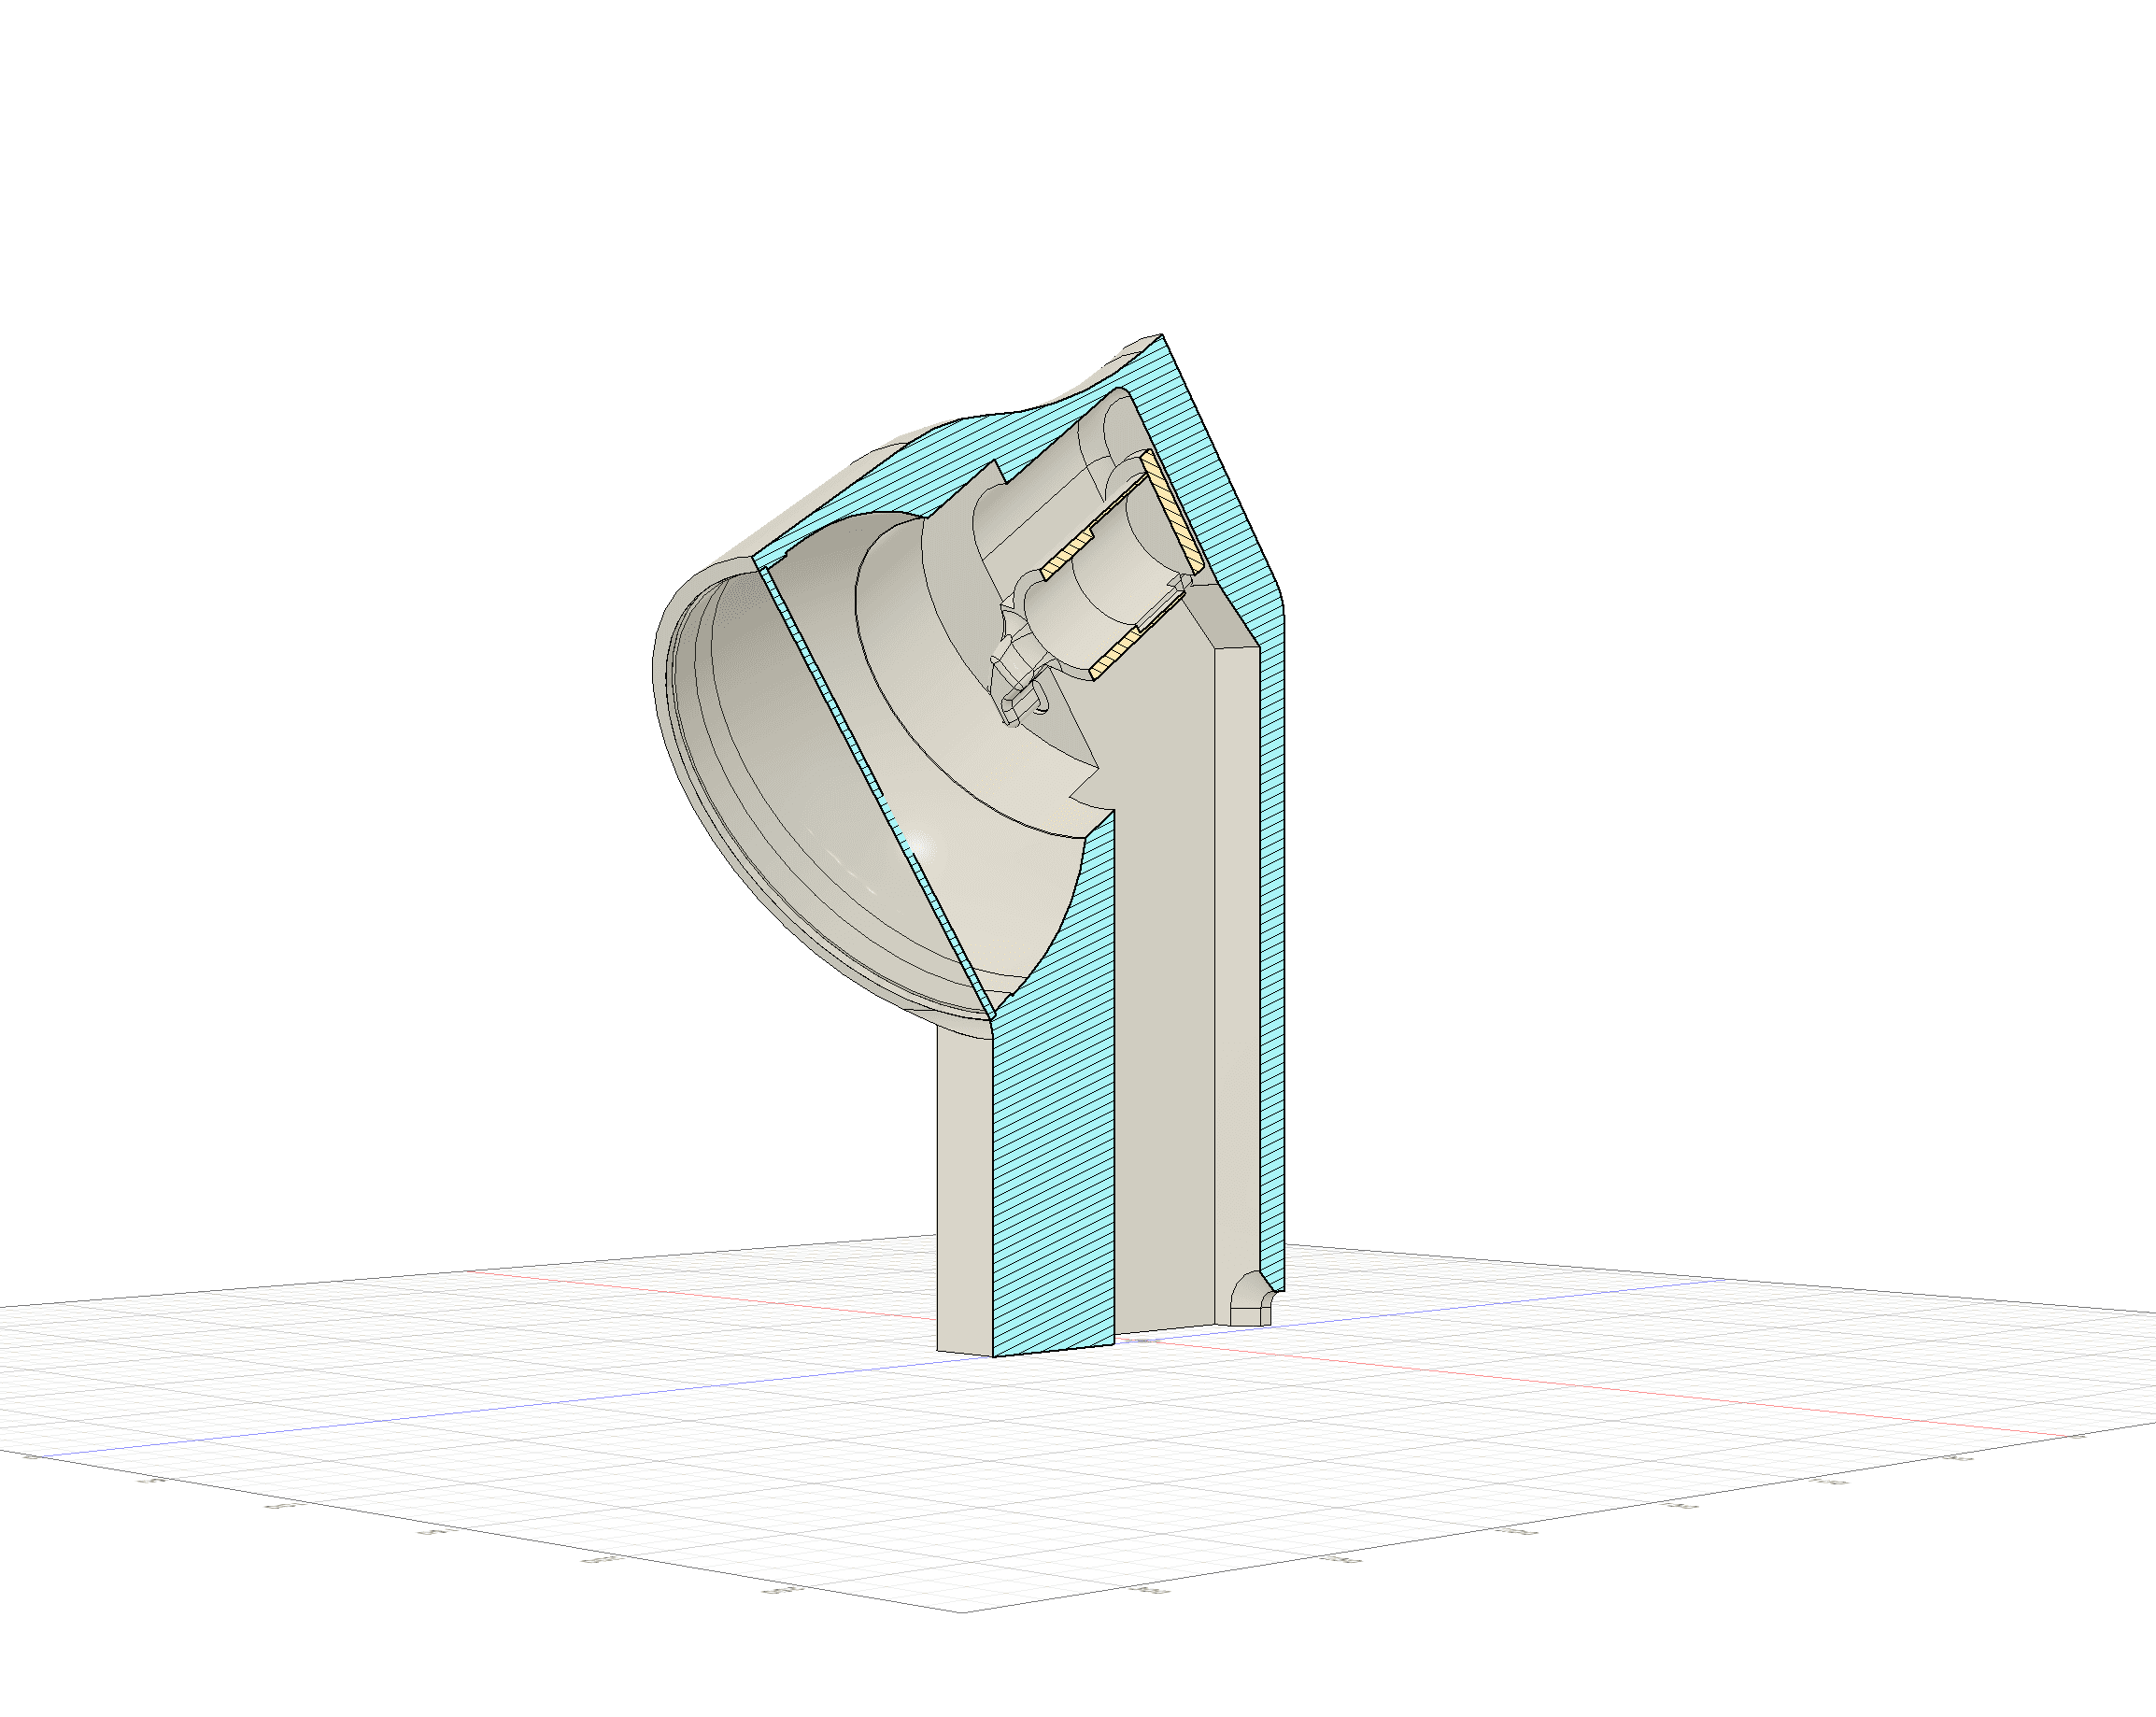
CAD model
Autodesk Fusion
2.5
The Lightbulb Socket
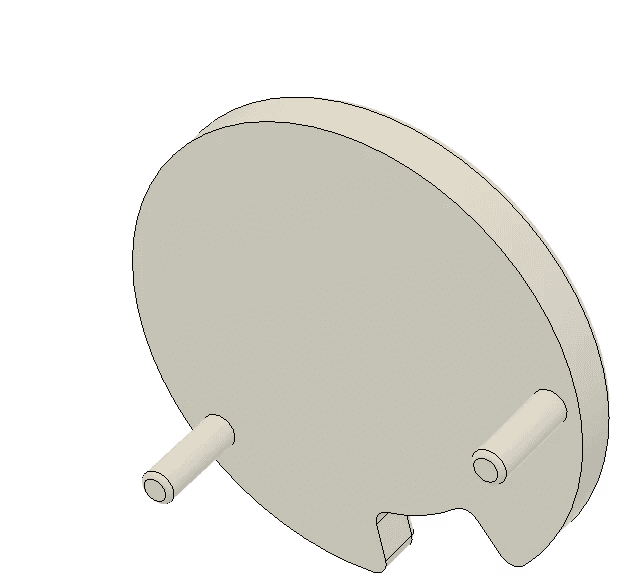
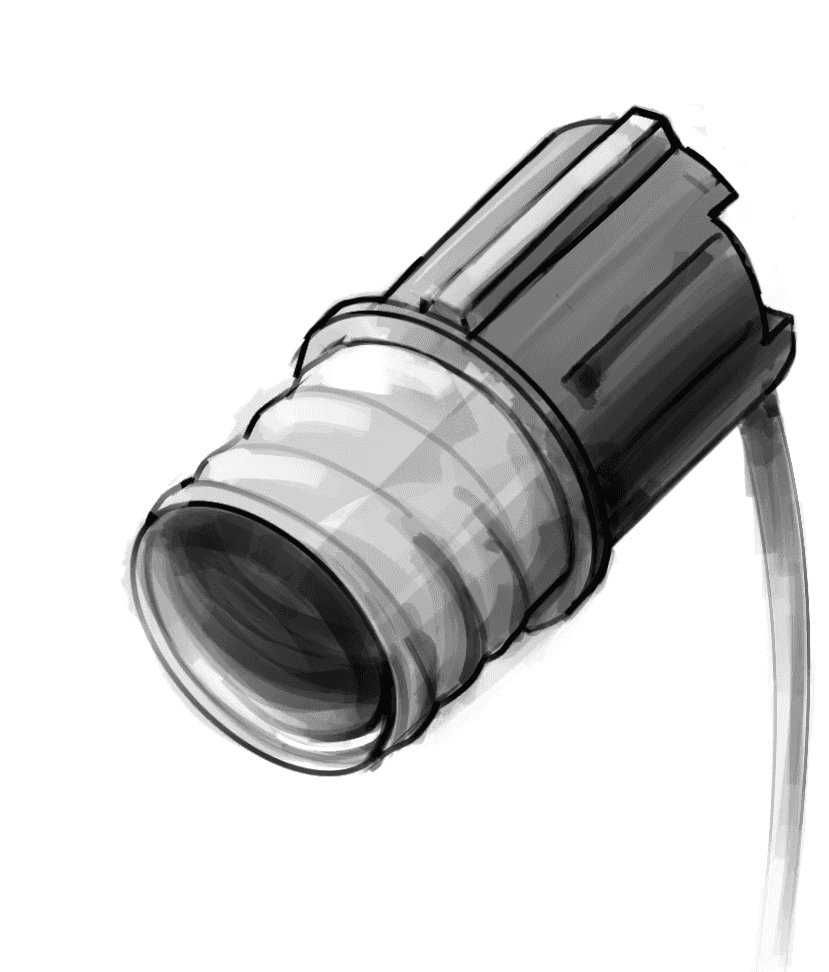
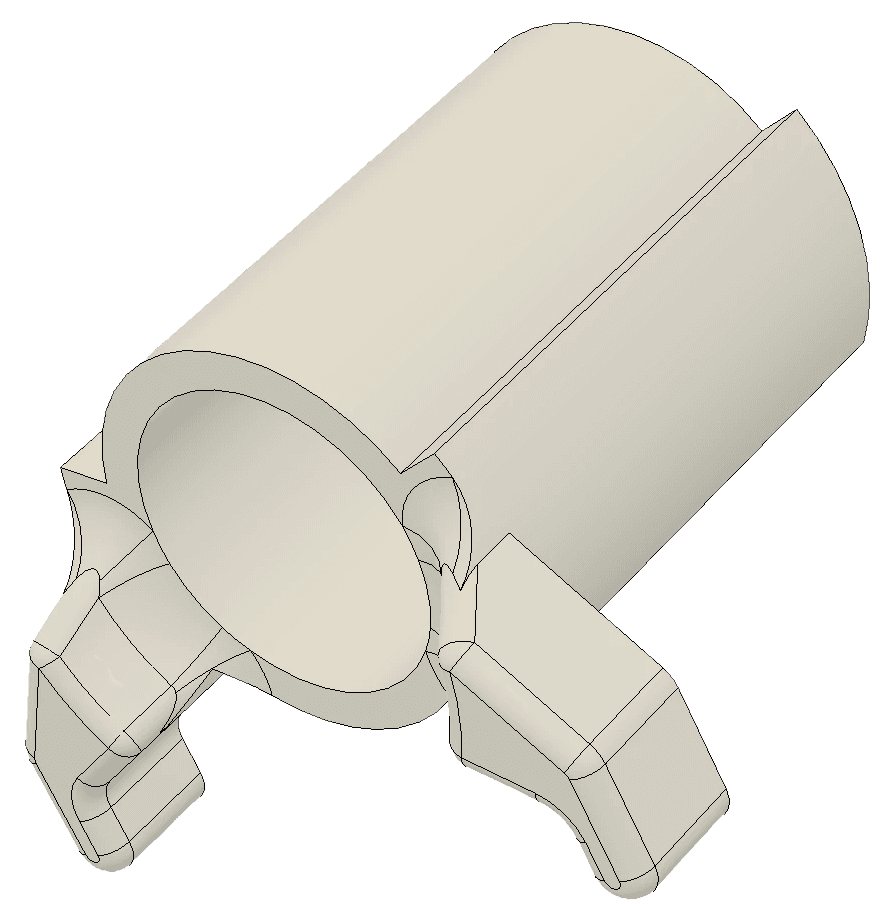
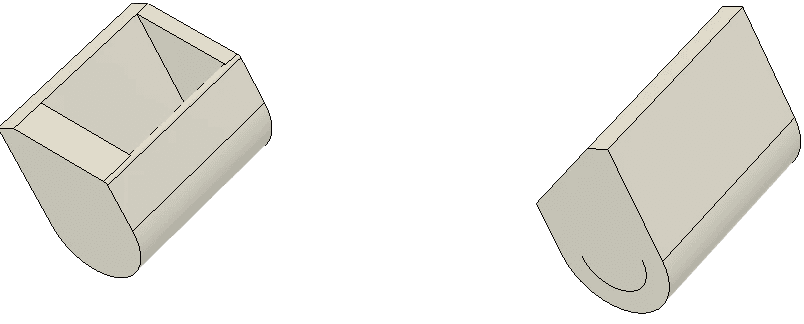
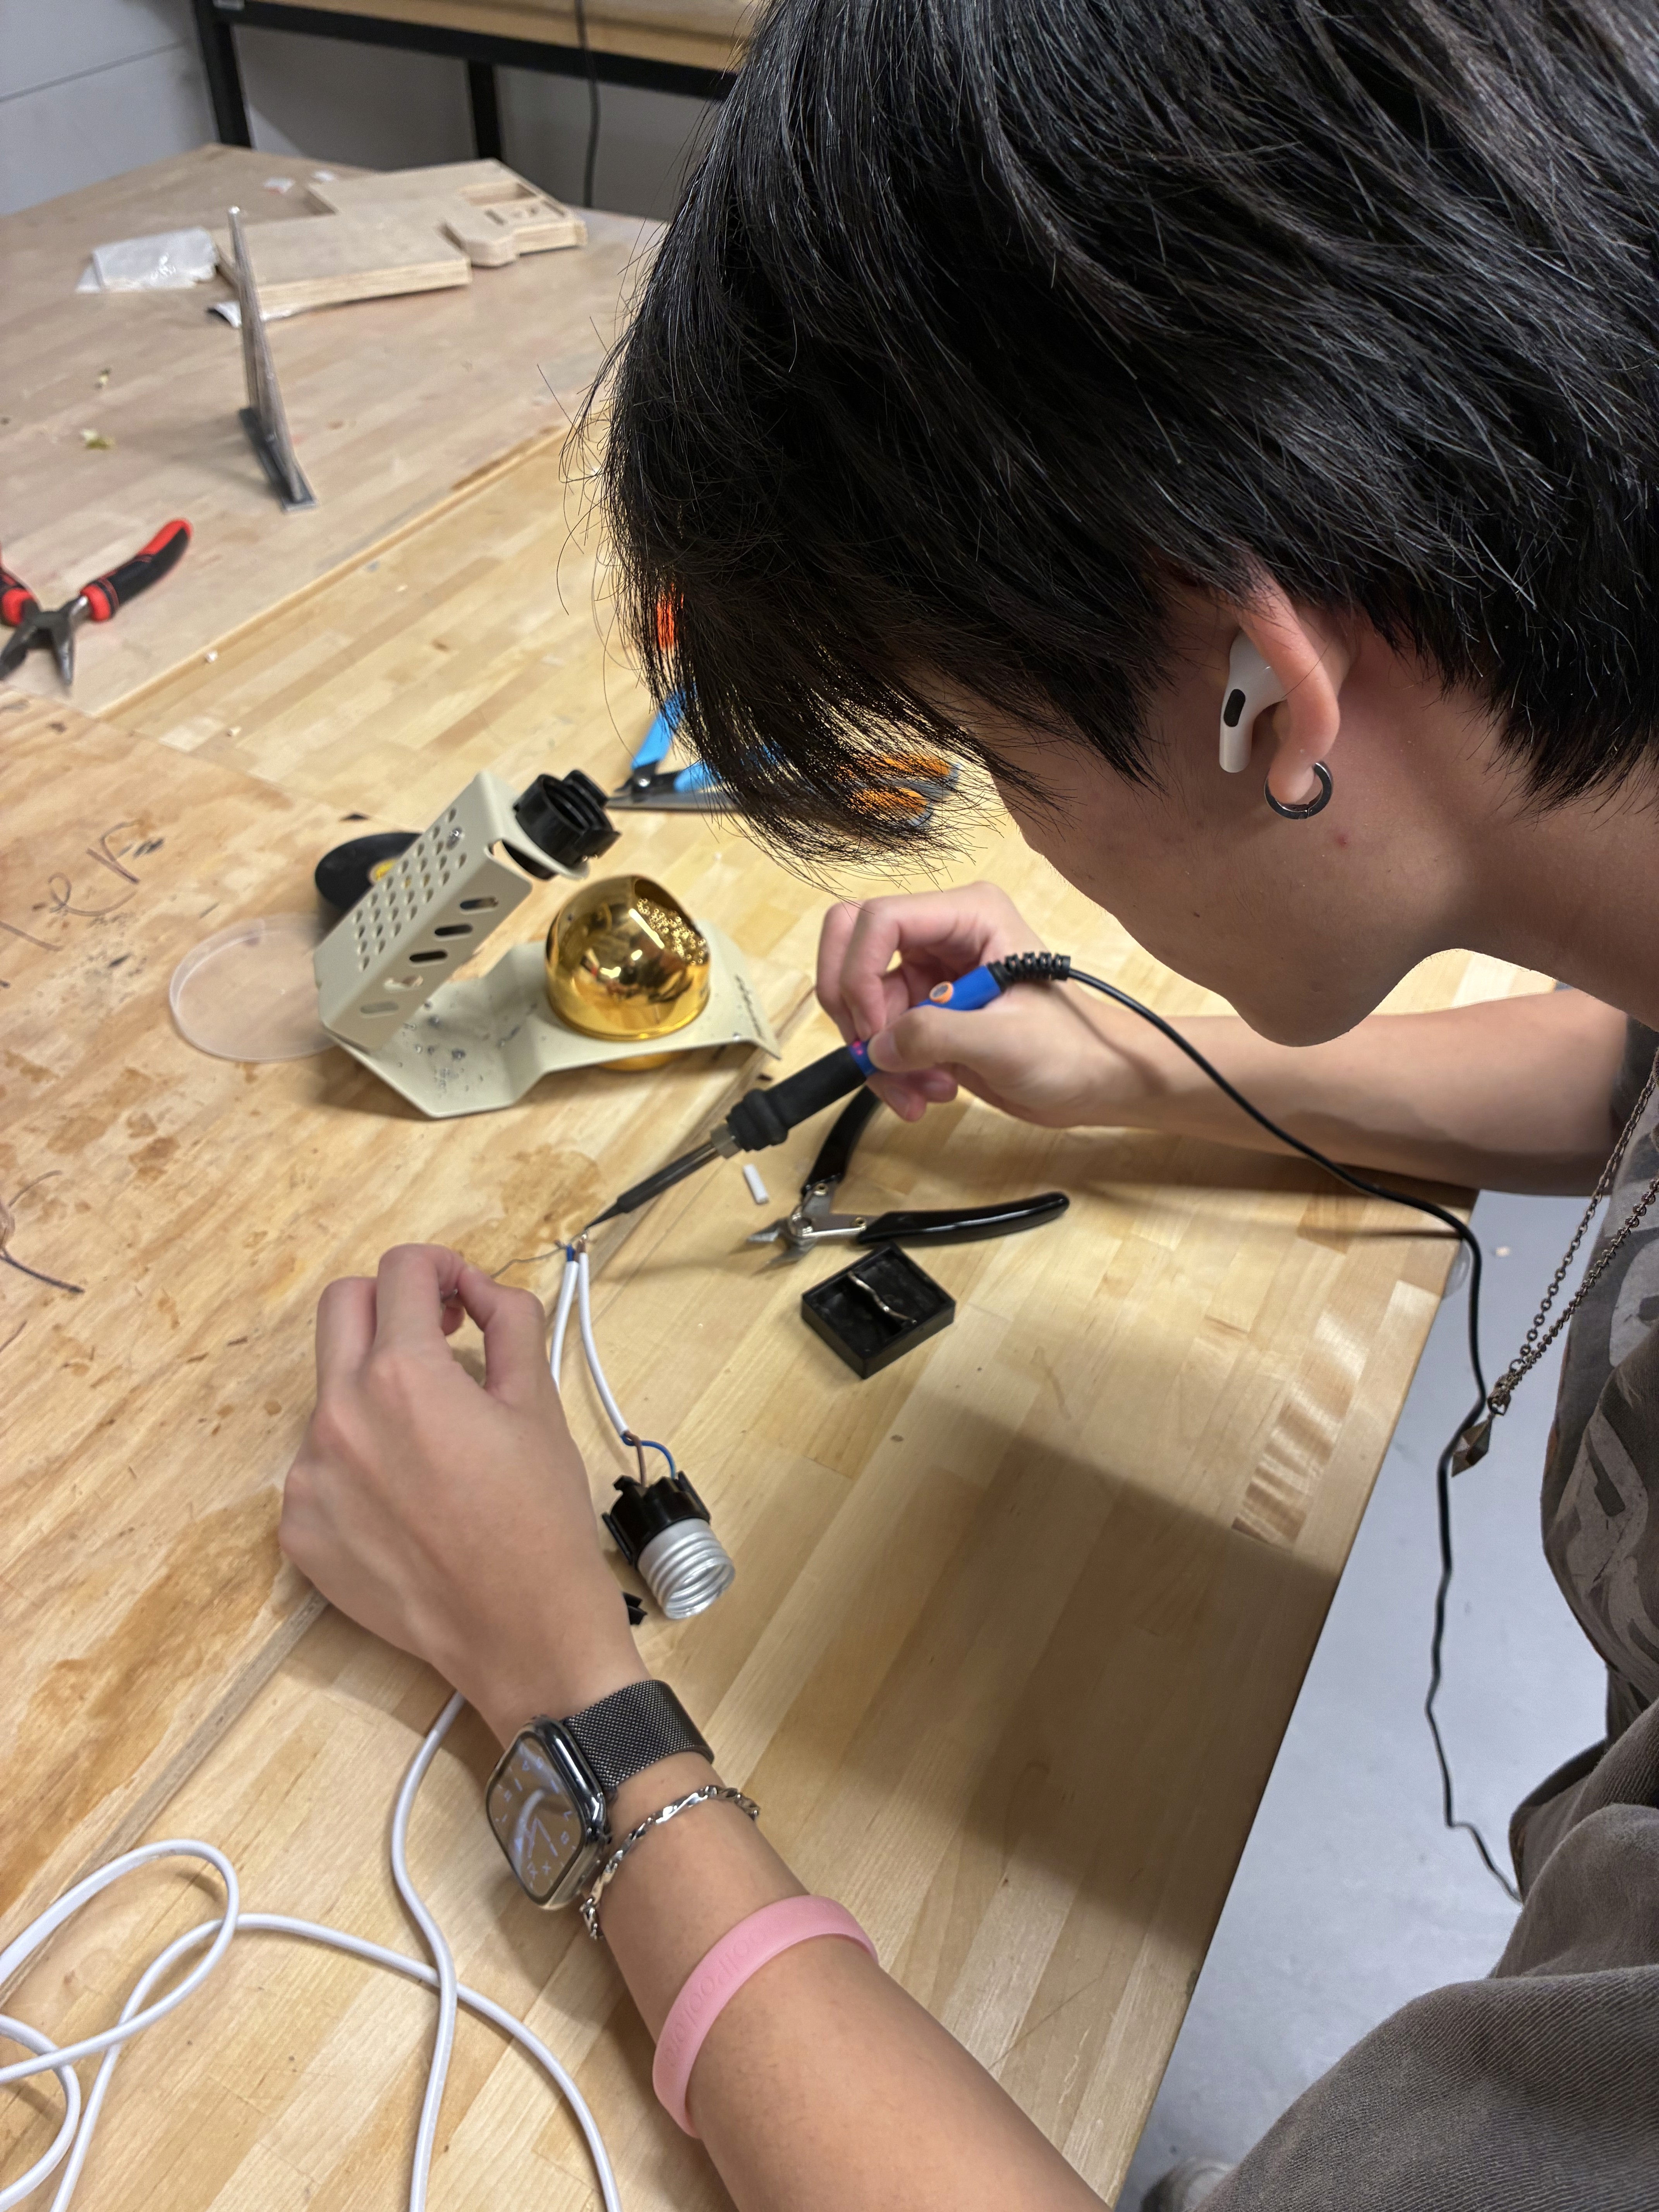
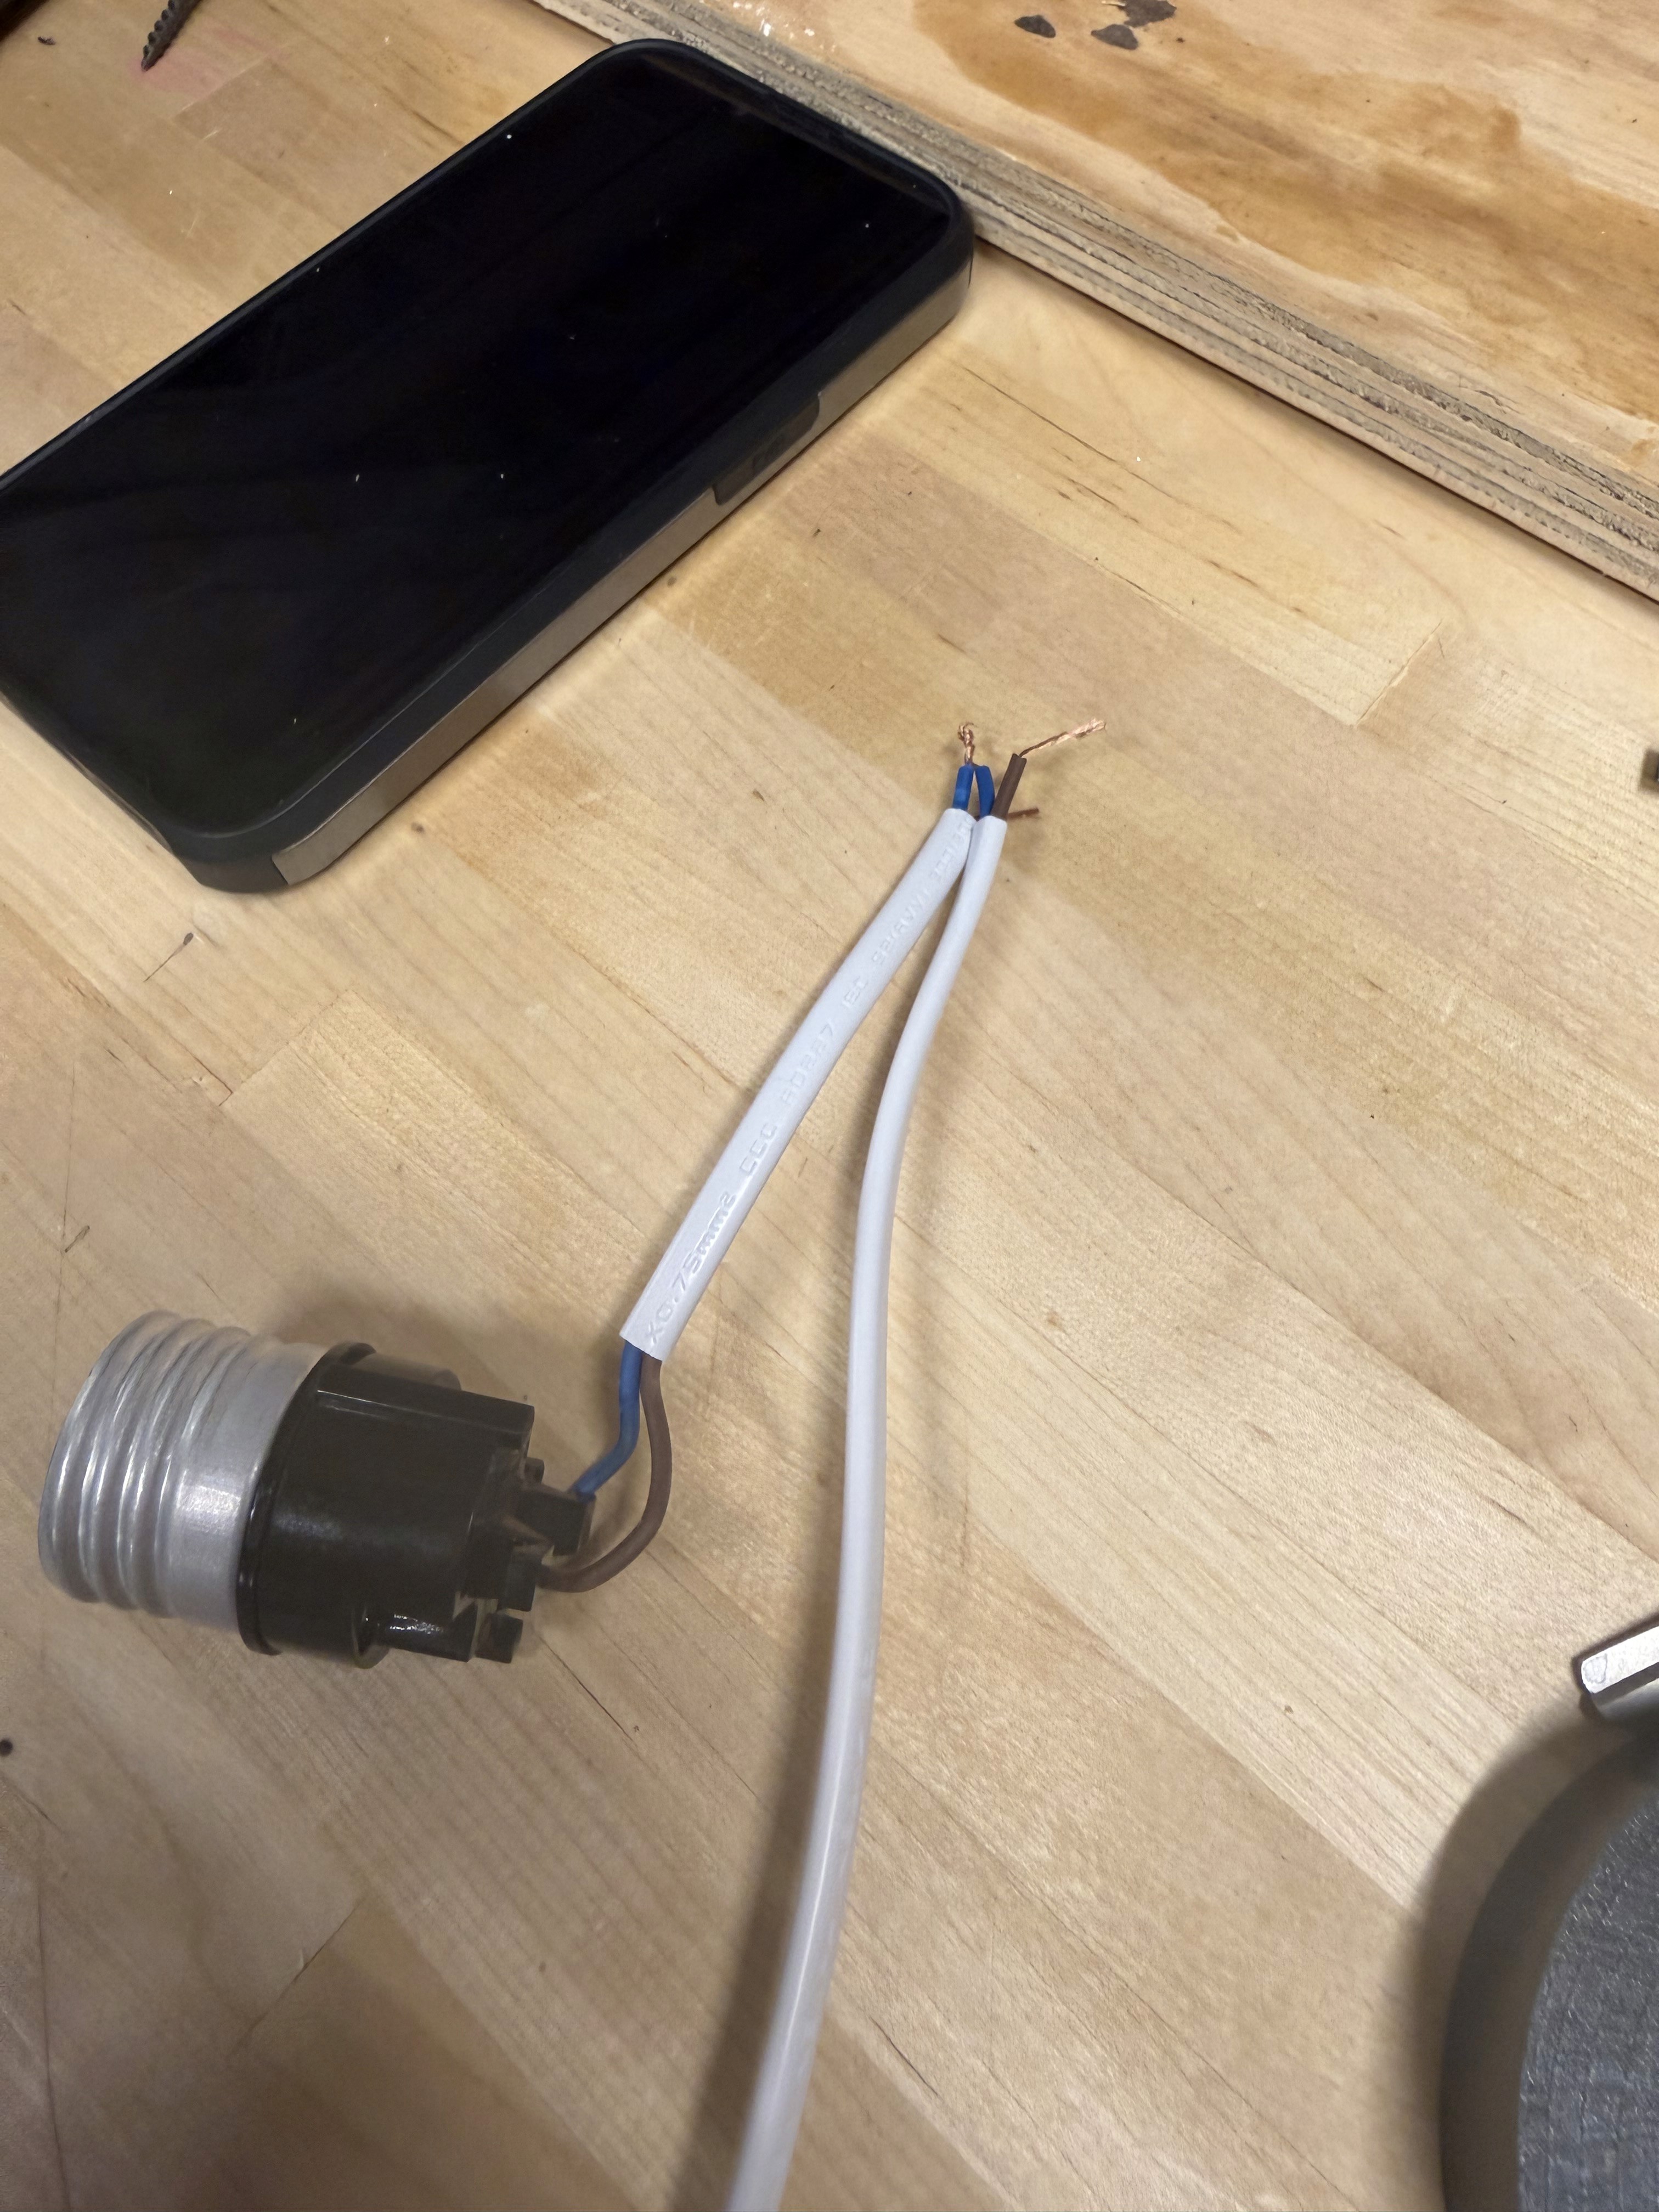
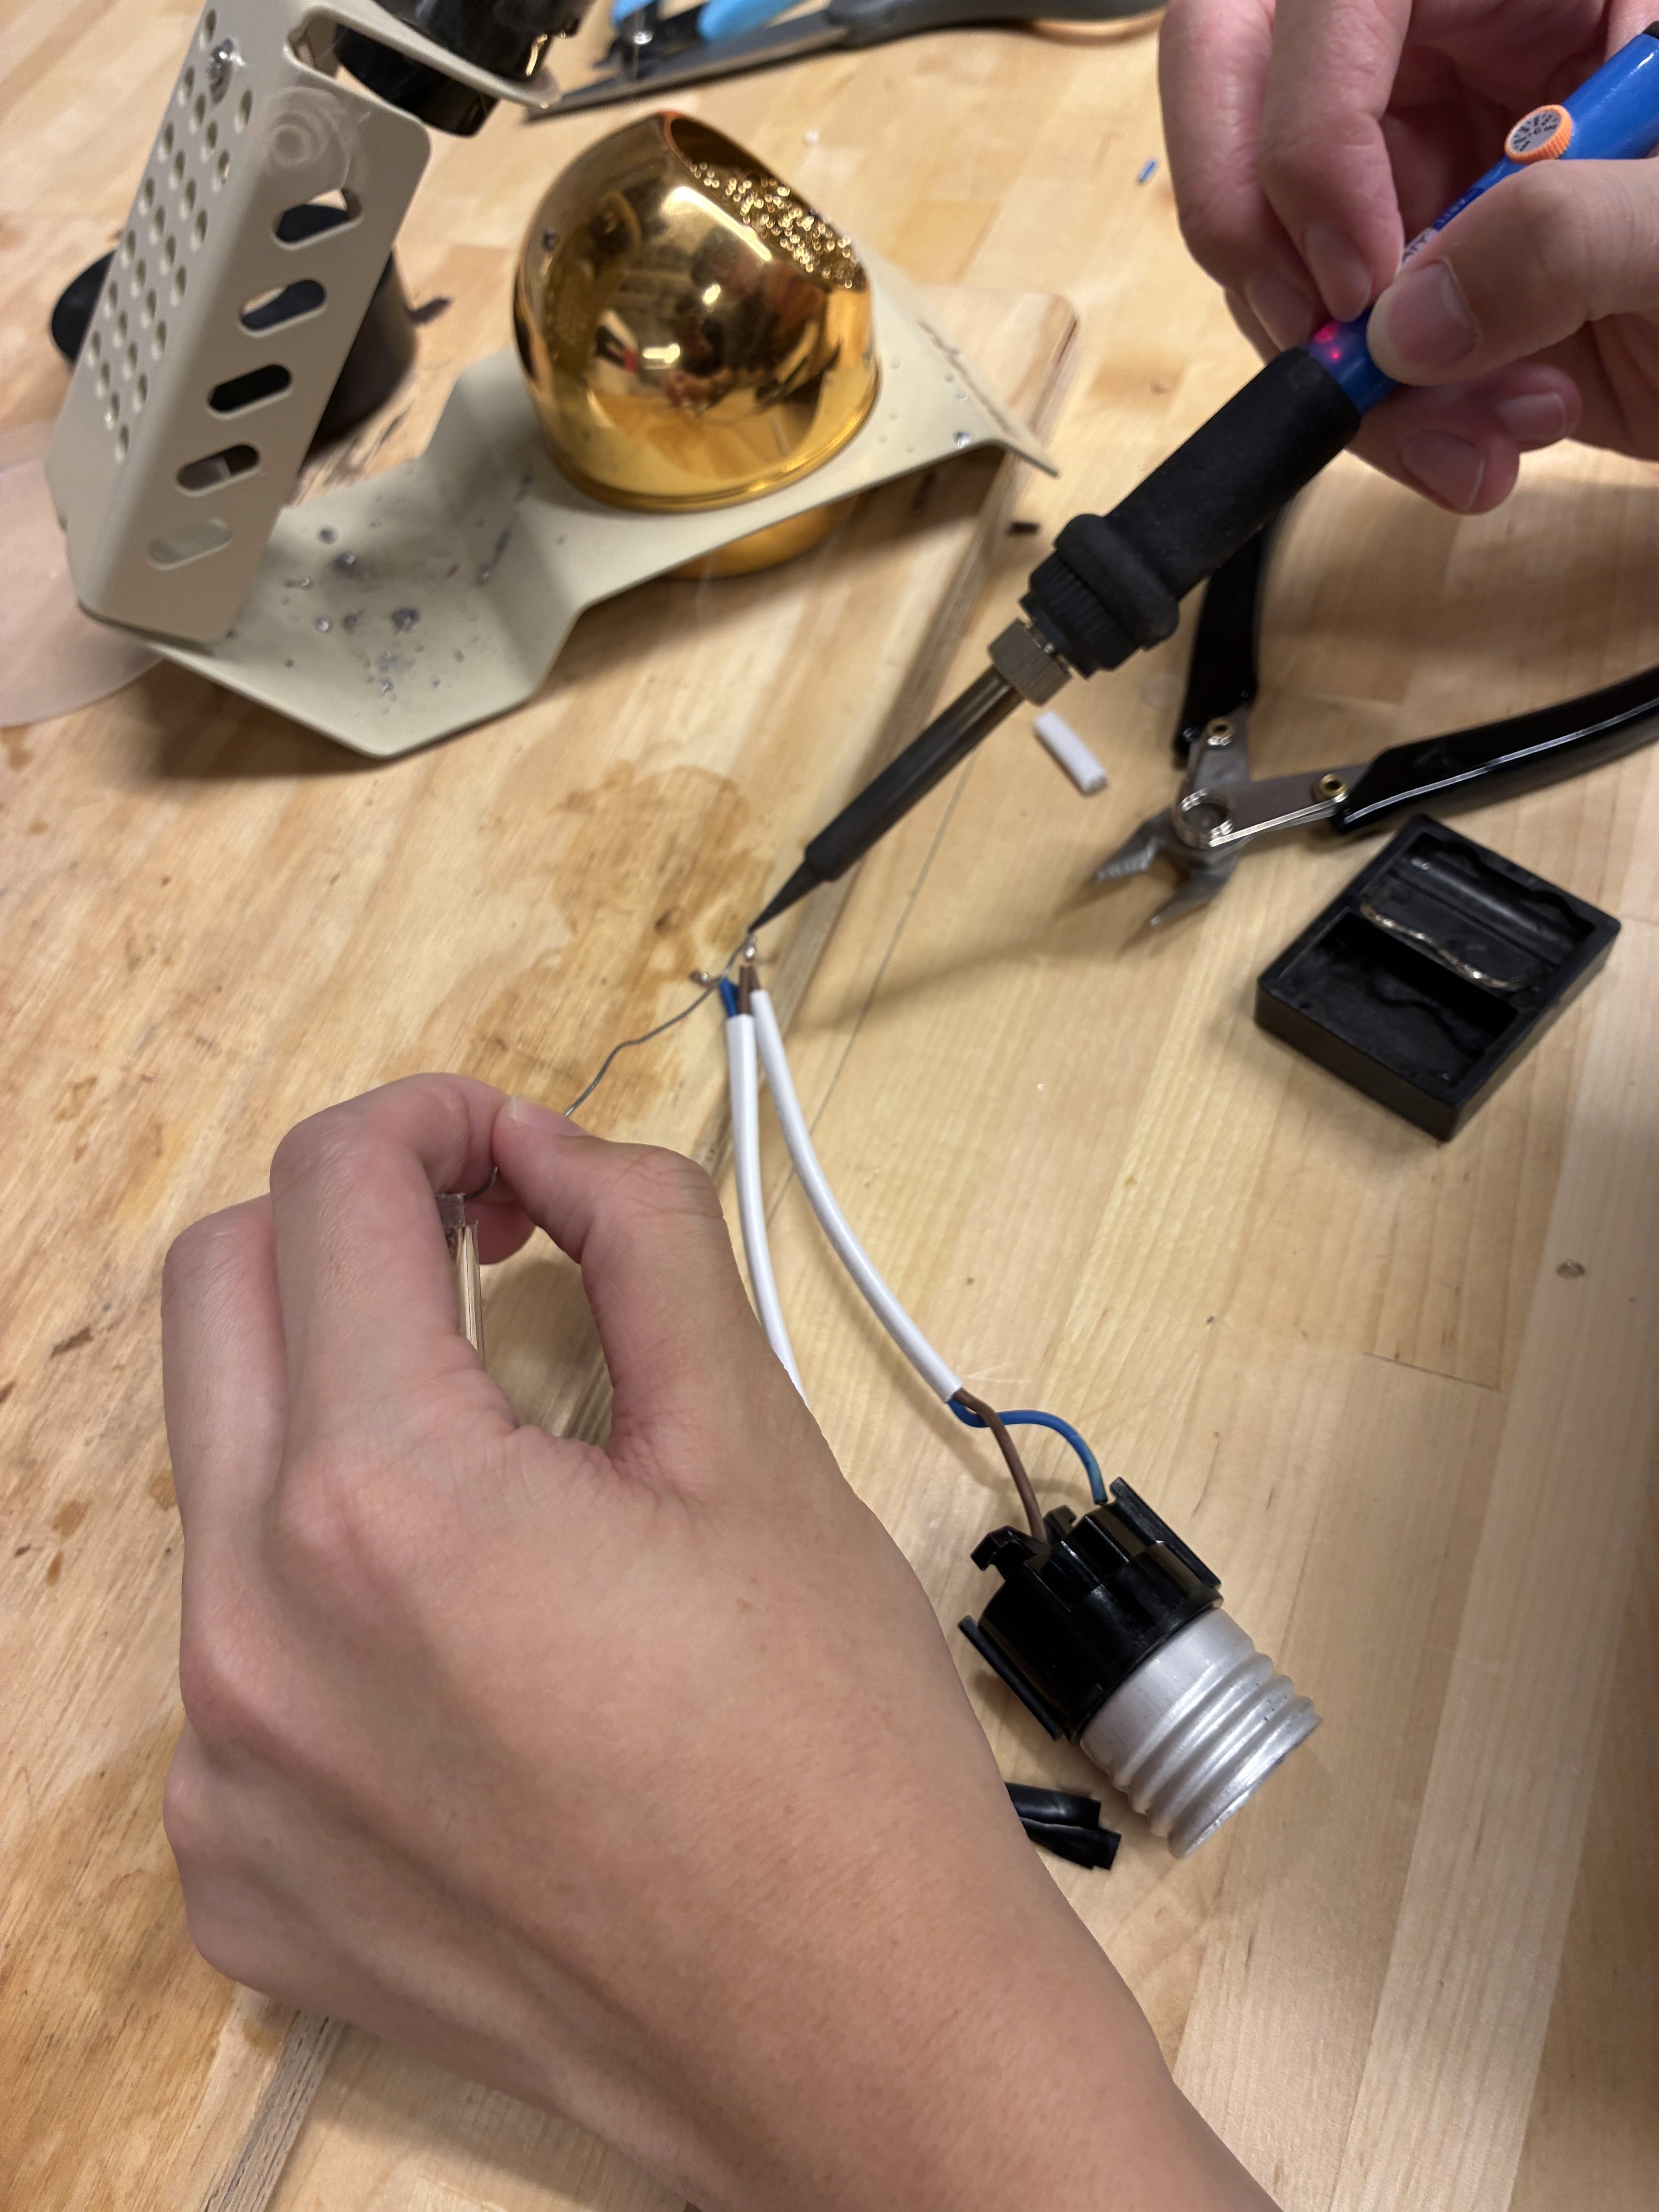
The stock plastic casing was too large.
I removed the socket’s casing and reconnected the cord using solder.

3
3D Printing

All bodies printed on a Creality K2 Plus with PLA filament.
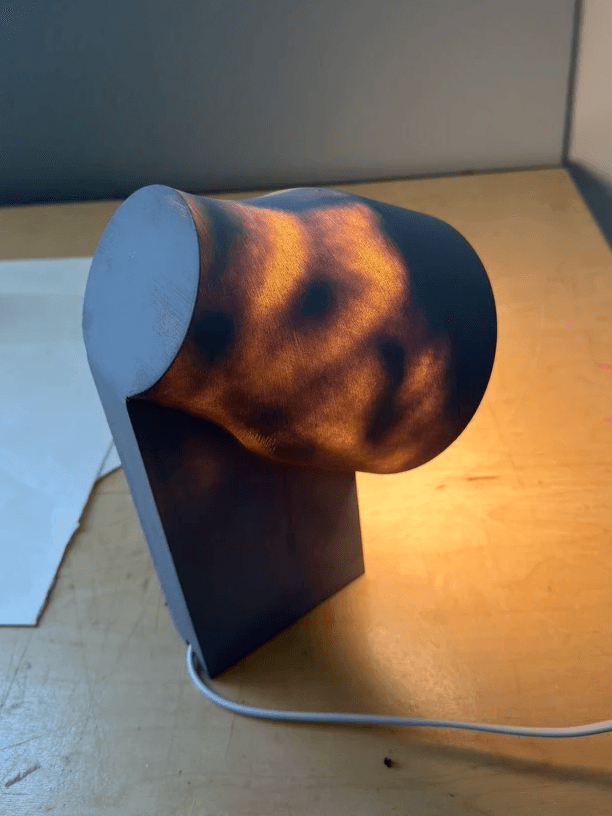
Due to a lack of white PLA filament, the main body was finished with red filament.
Unfortunately, this created a persistent seam that was difficult to hide during surface finishing.
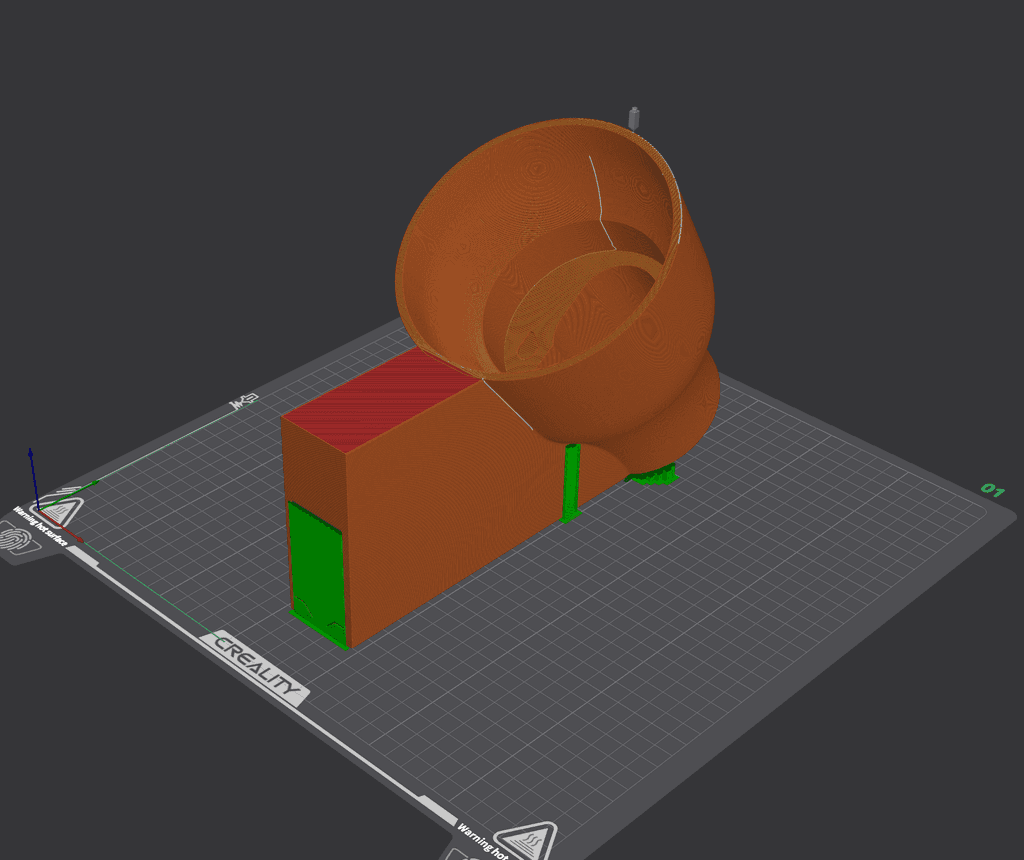
Model slicing
Three interface layers were used to easily remove supports.
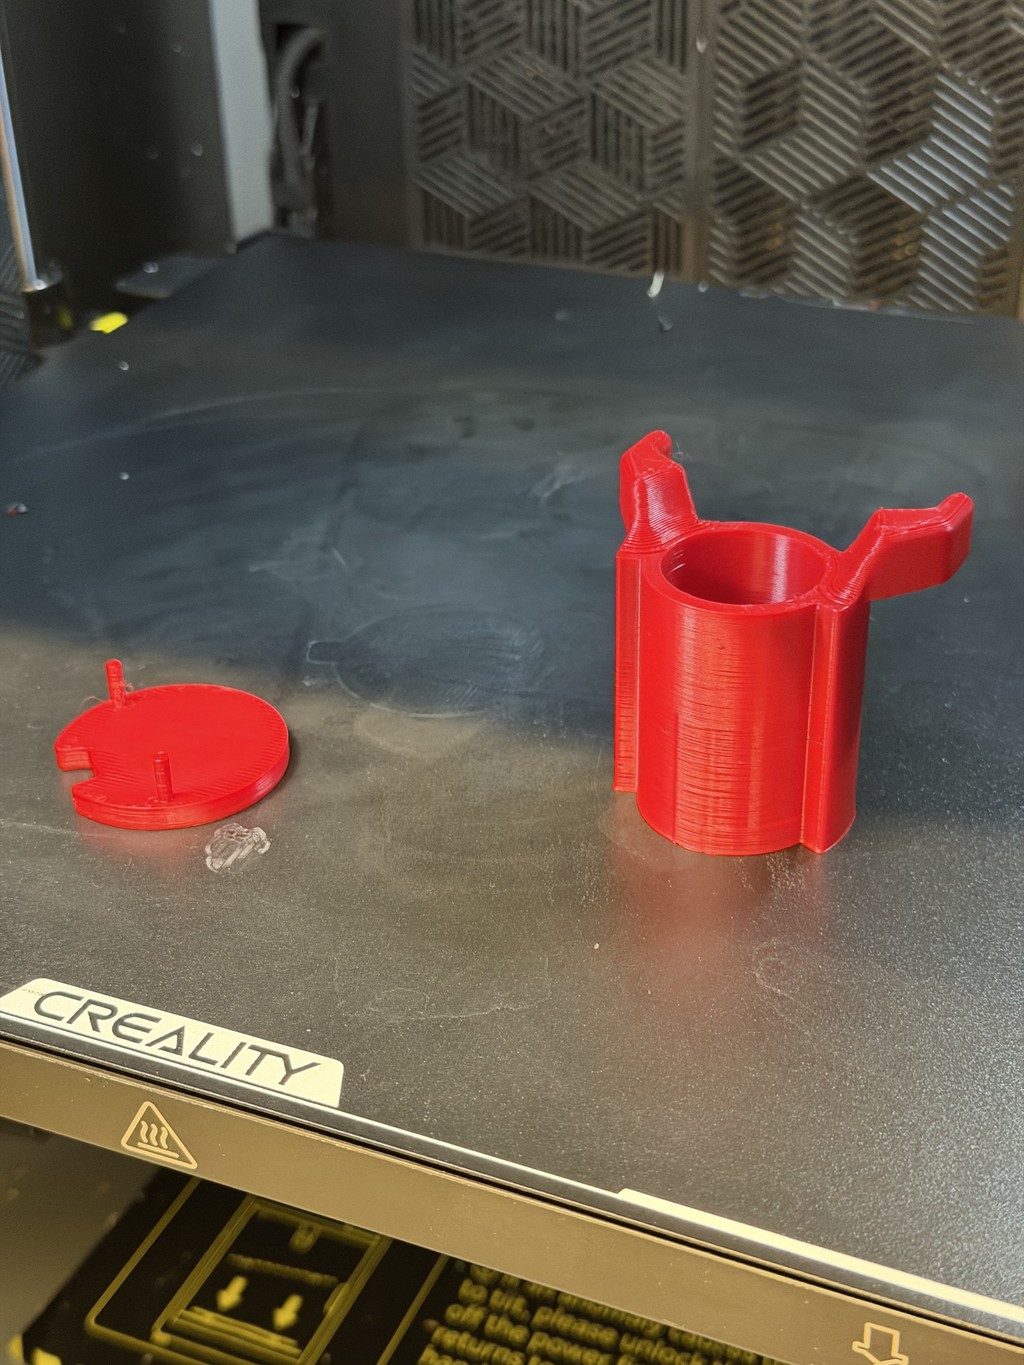
Printed socket housing
Red filament was convenient and fine due to internal use.
4
Lightbulb
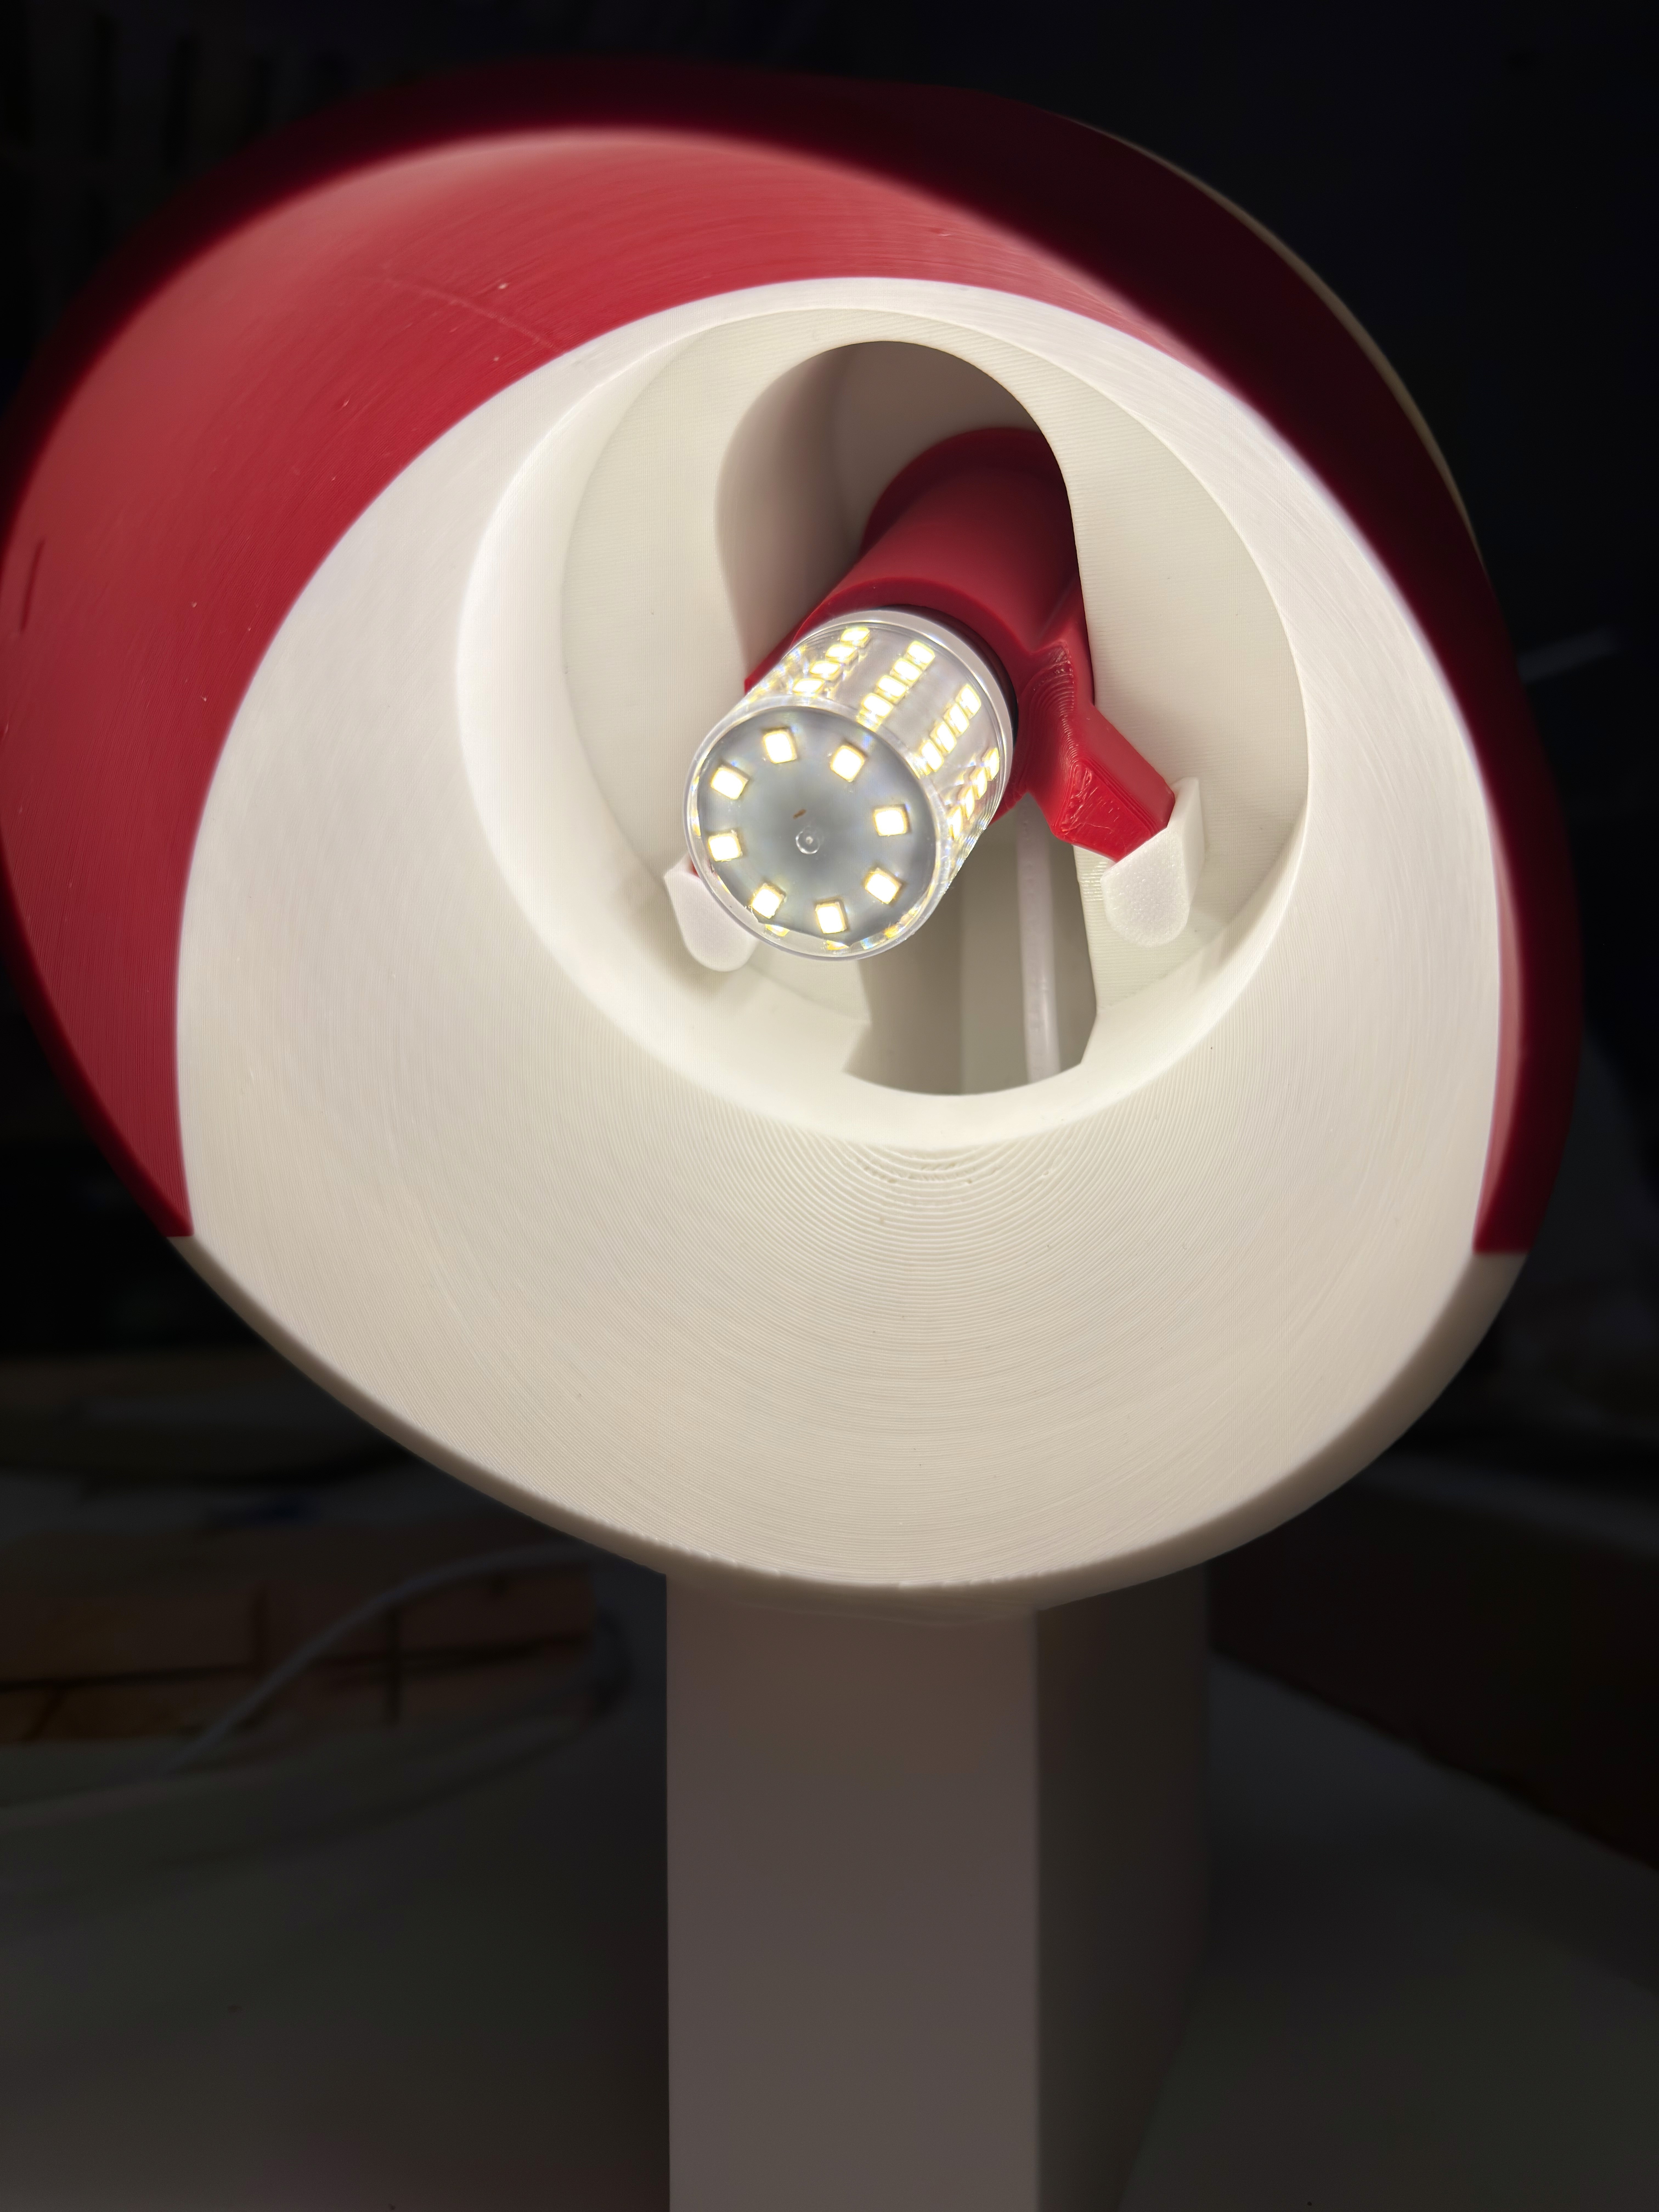
Unsuccessful choice: Refrigerator Lightbulb
This bulb, despite perfectly fitting and illuminating, produced too much heat and could cause the bulb or surrounding material to deform and/or catch fire.
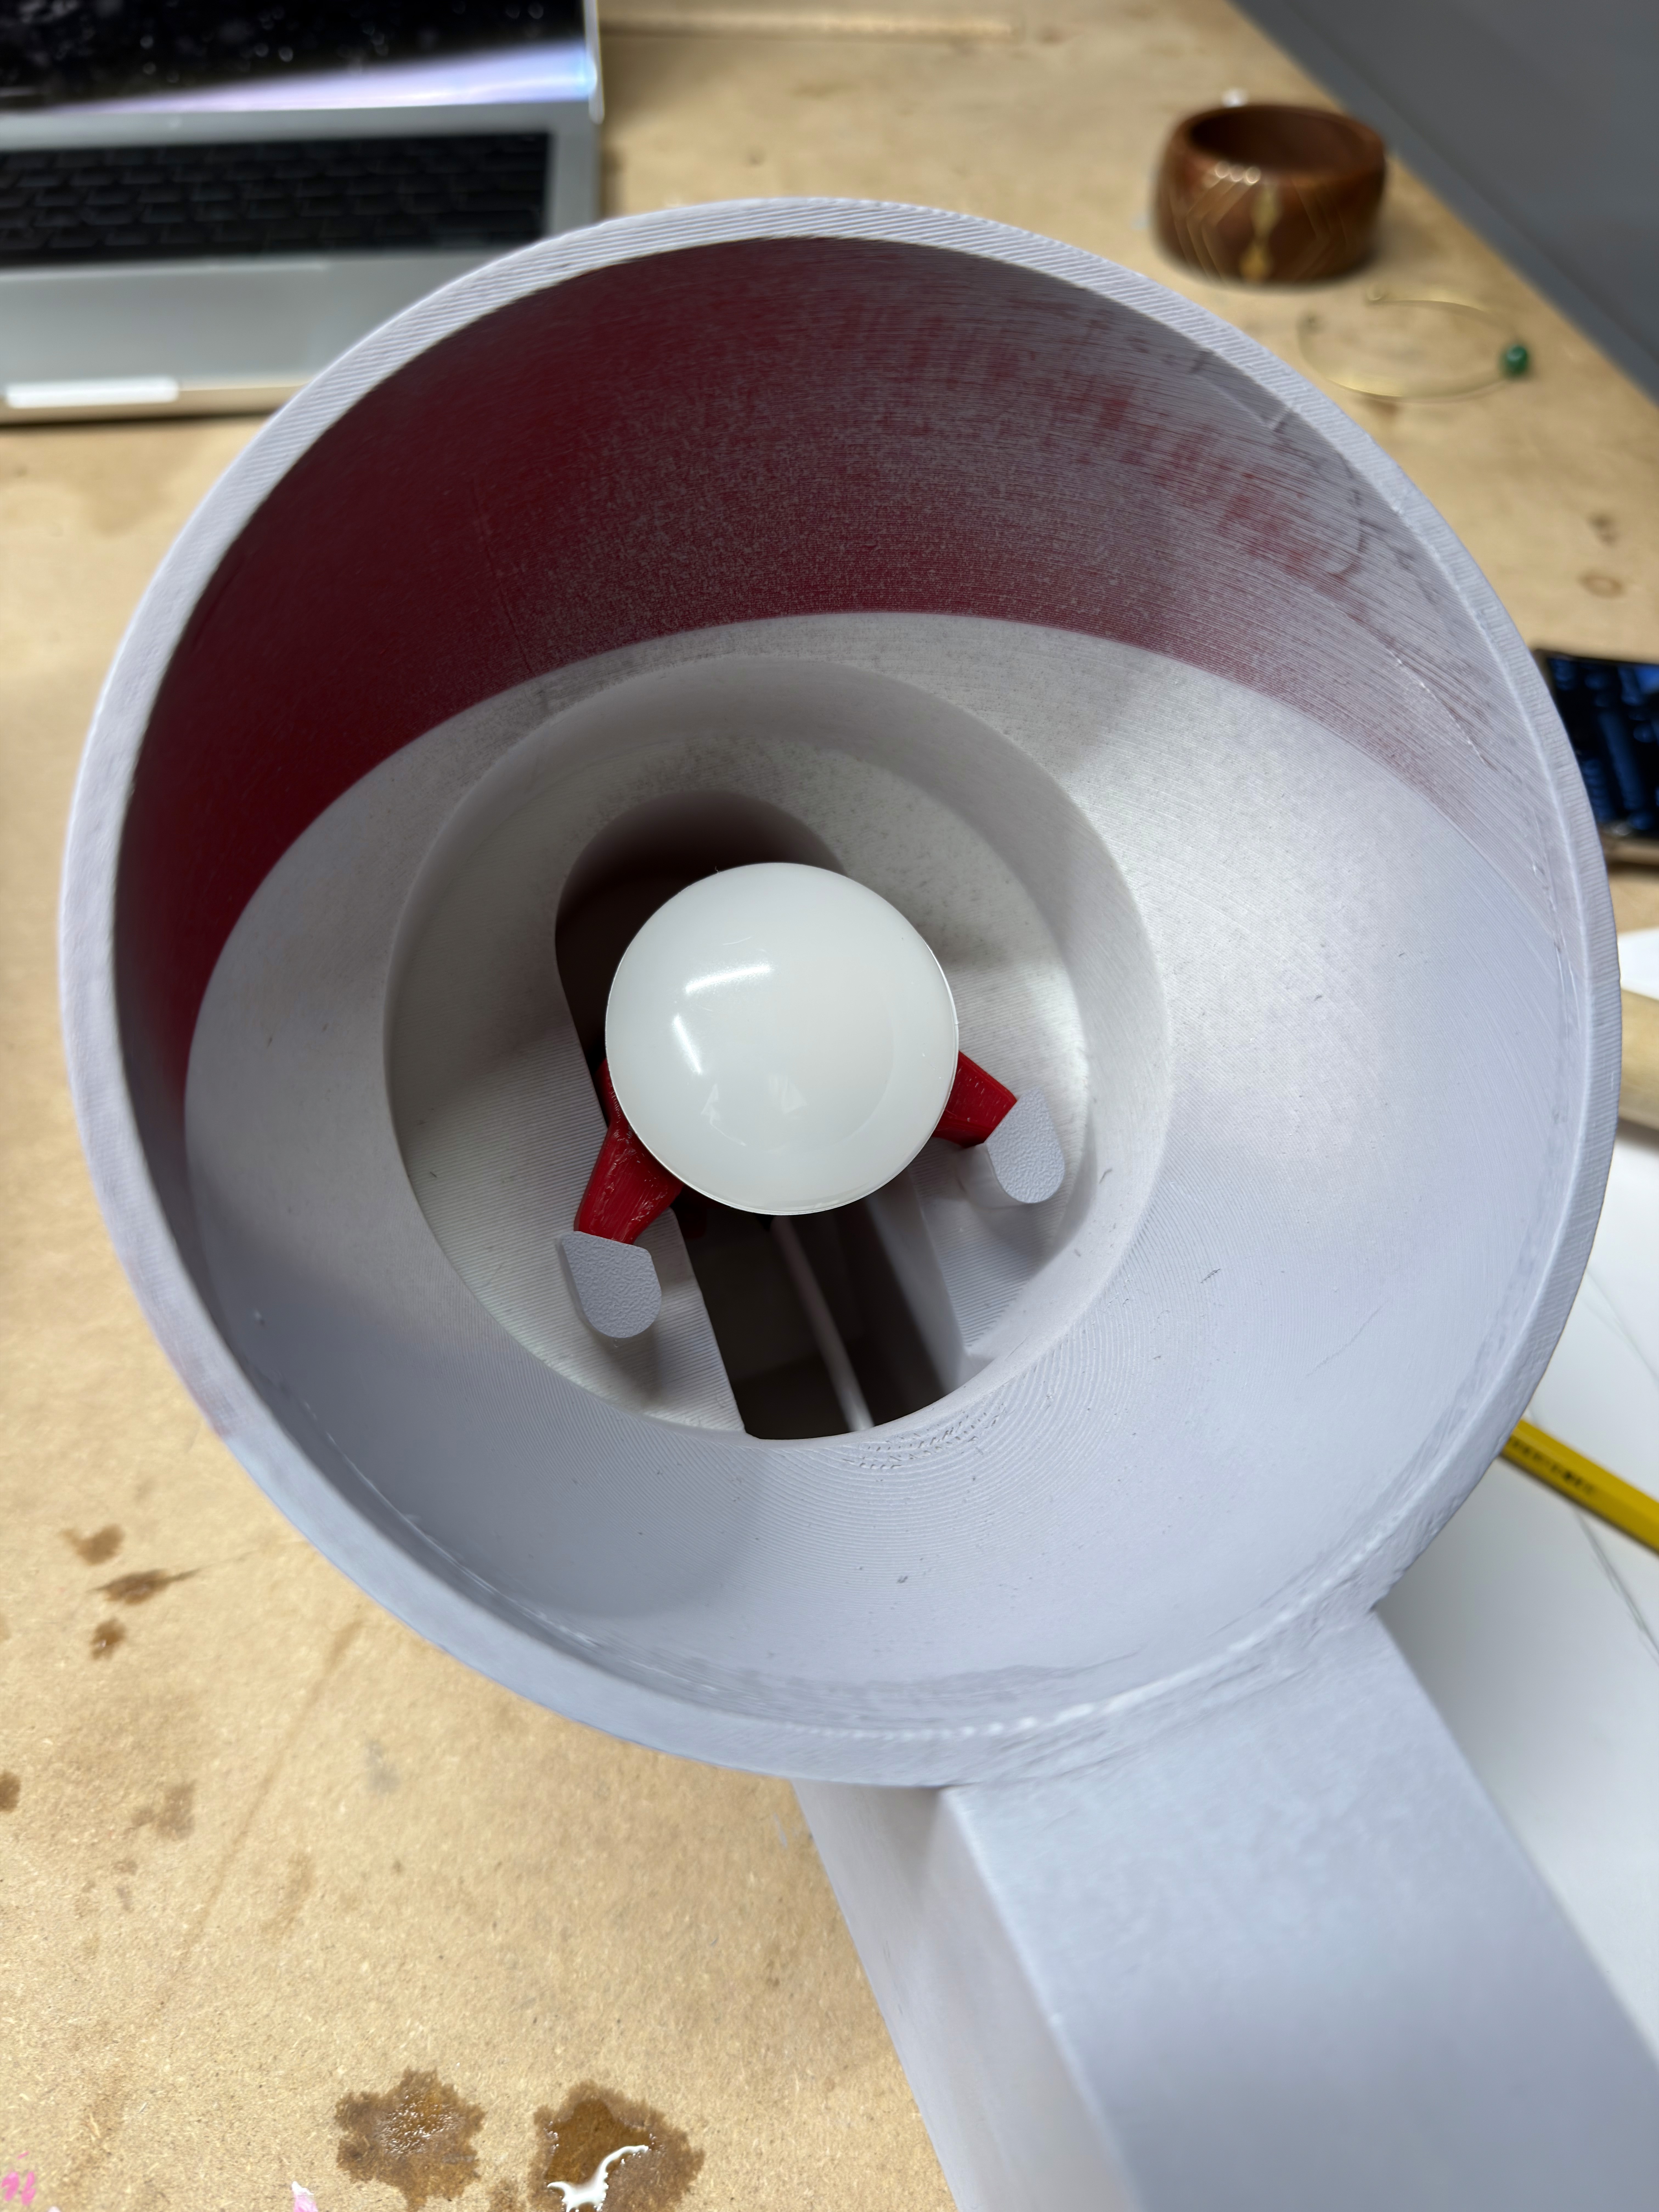
Successful choice: Cabinet Lightbulb
Does not produce excessive heat and satisfies size and light requirements.
Type R14
E26 base
3000K, 300LM
5
Light Diffuser
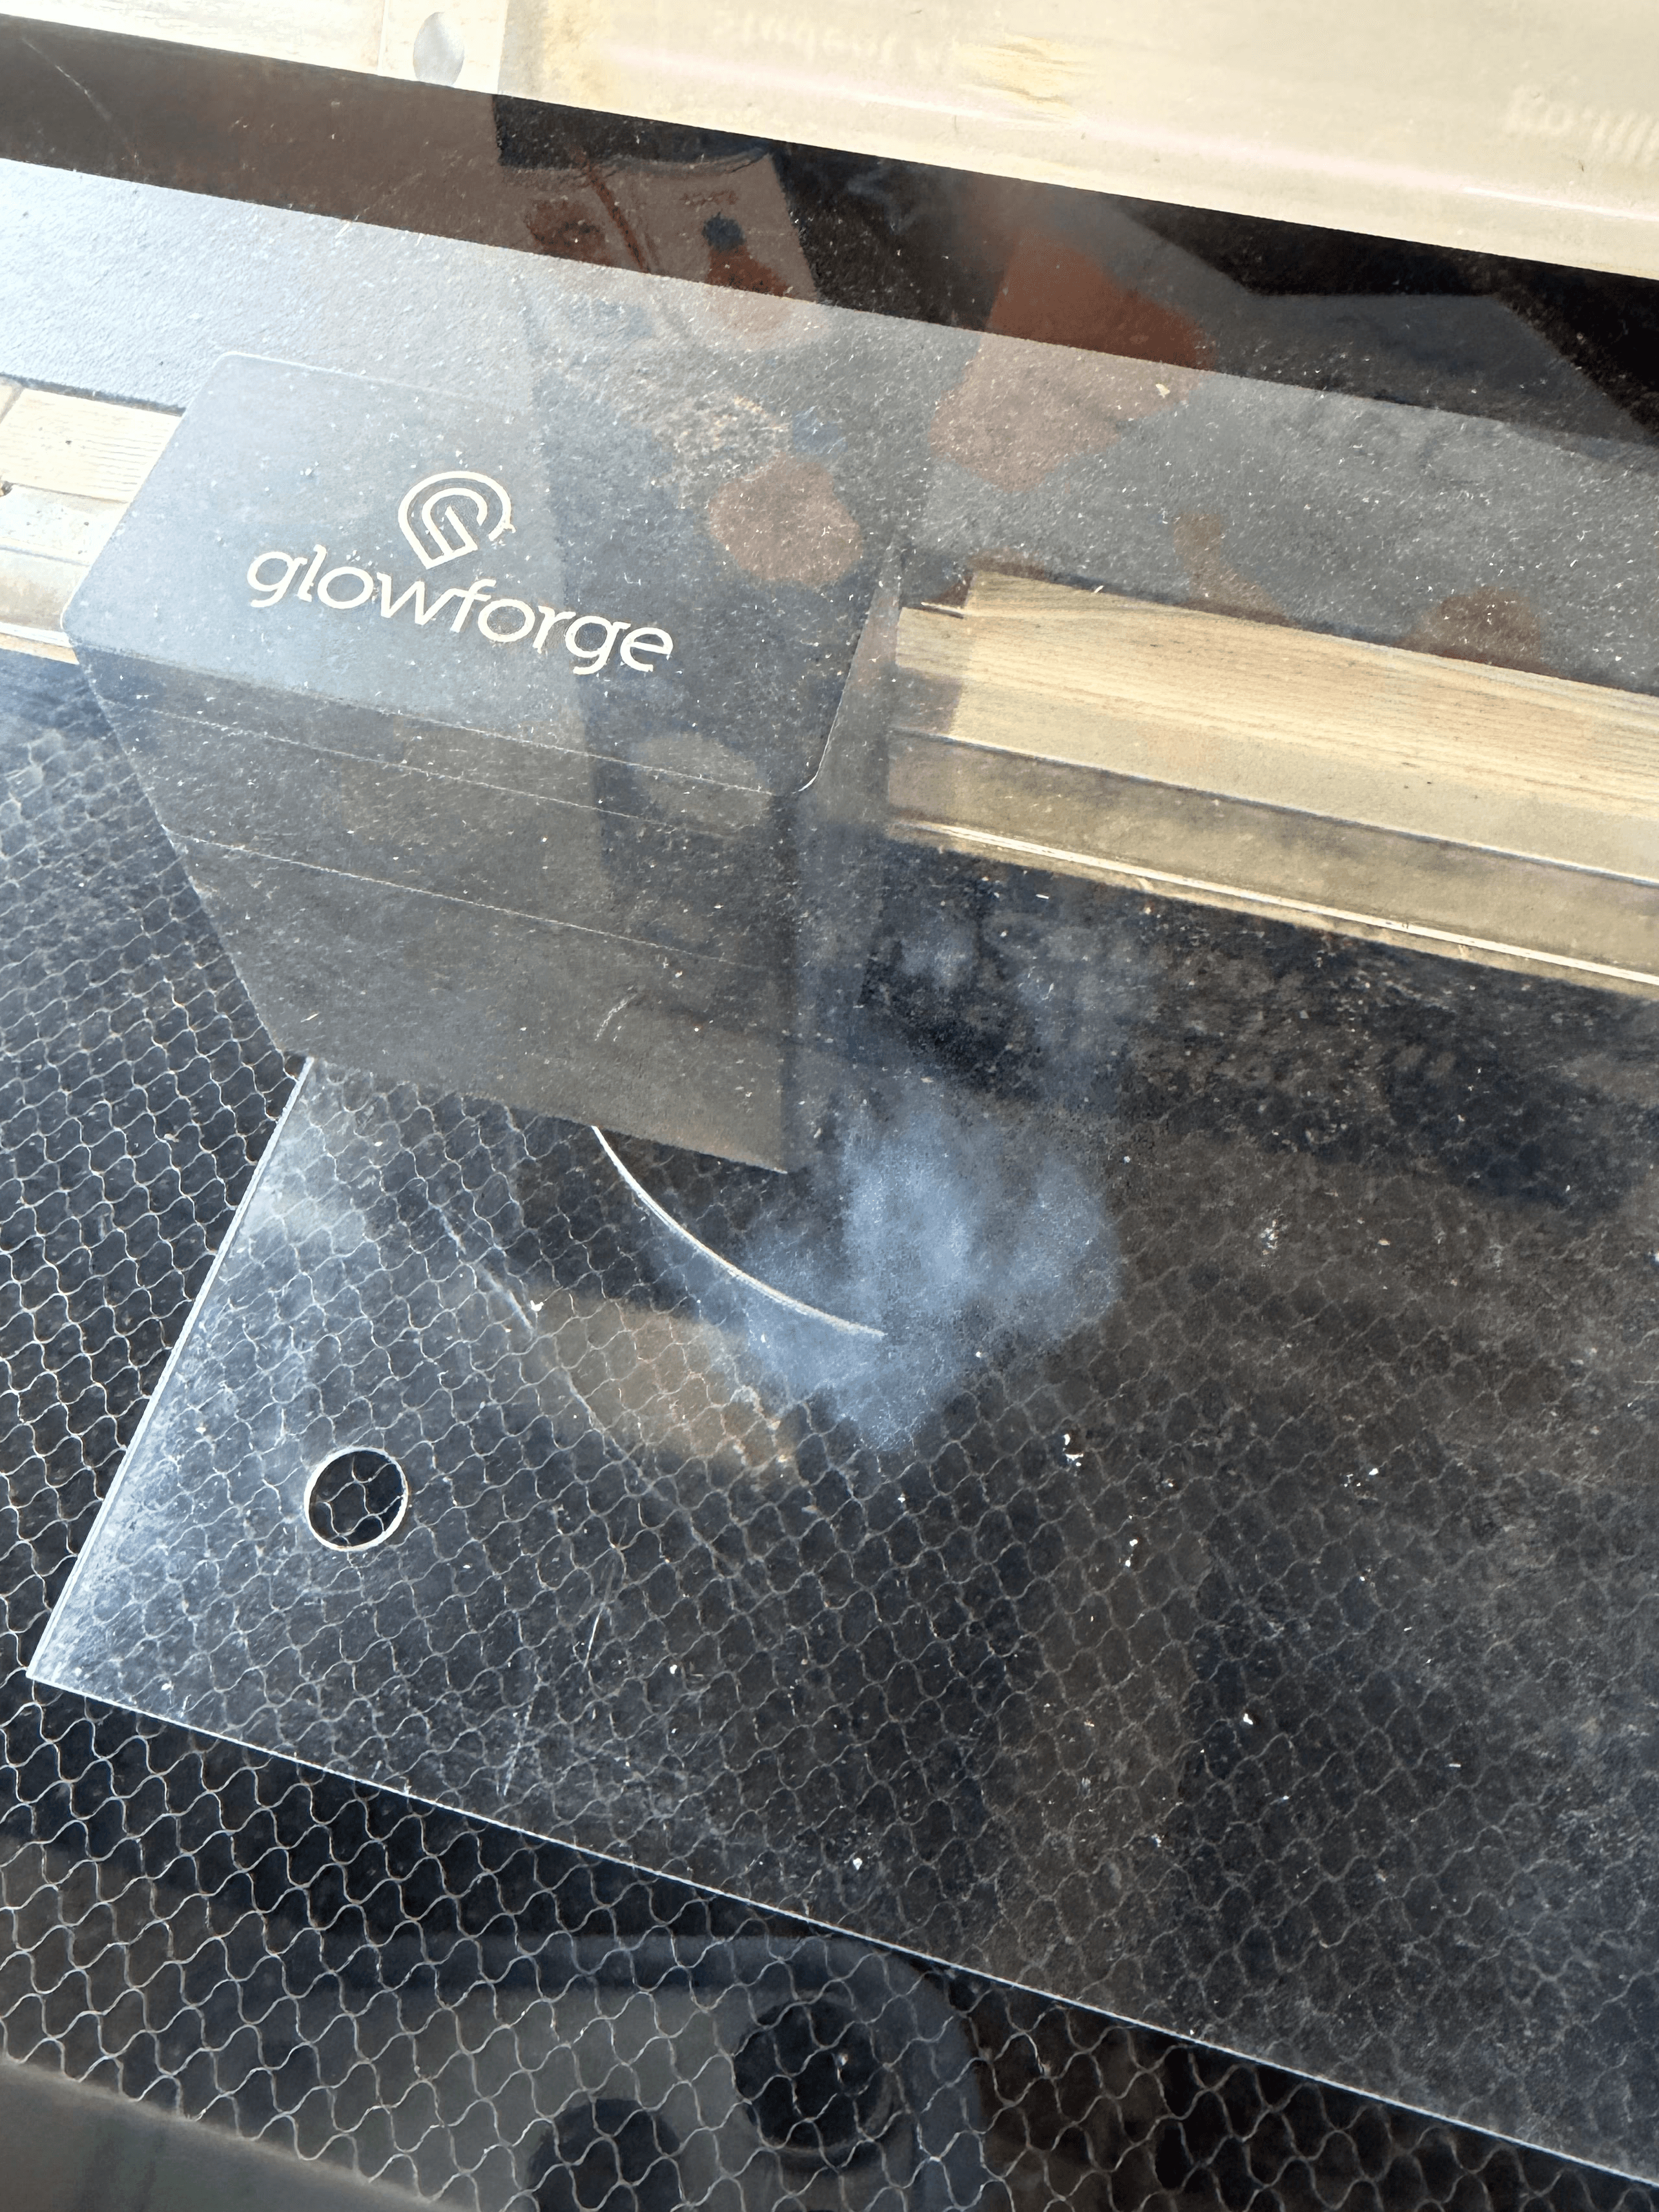
Laser cutting
Cut size set to 0.1mm smaller than its intended space for tight friction fitting.
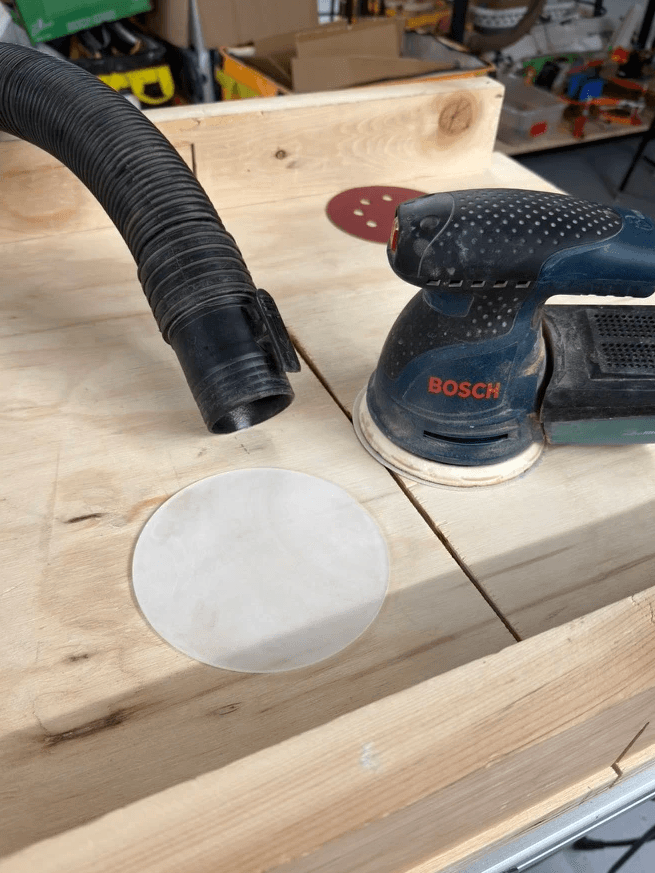
Disk sanding
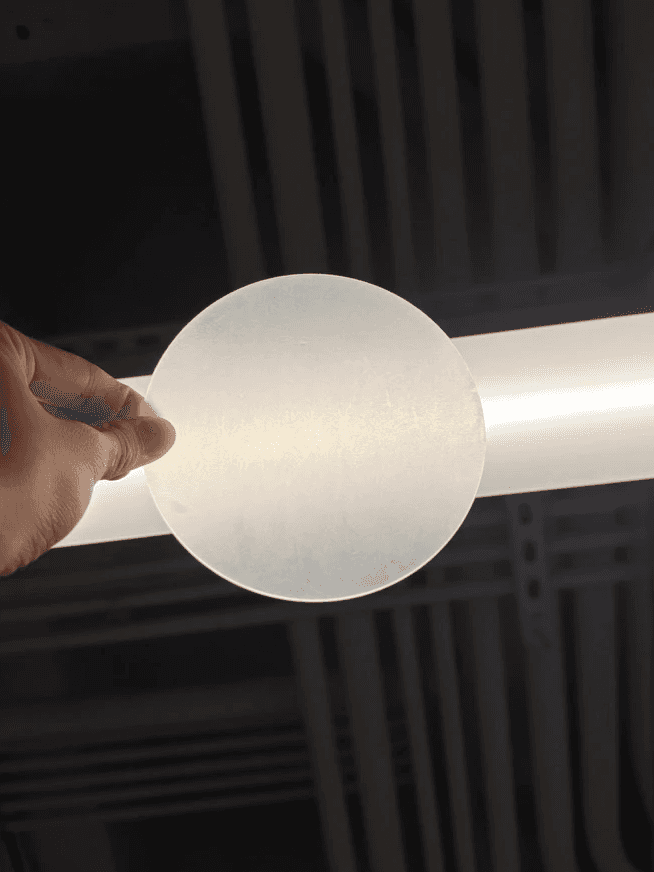
Using a fine-grit disk sander to frost both sides. Rinsing in between.
Finish
Effectively diffuses light while being smooth to the touch.
6
Surface Finishing: Priming
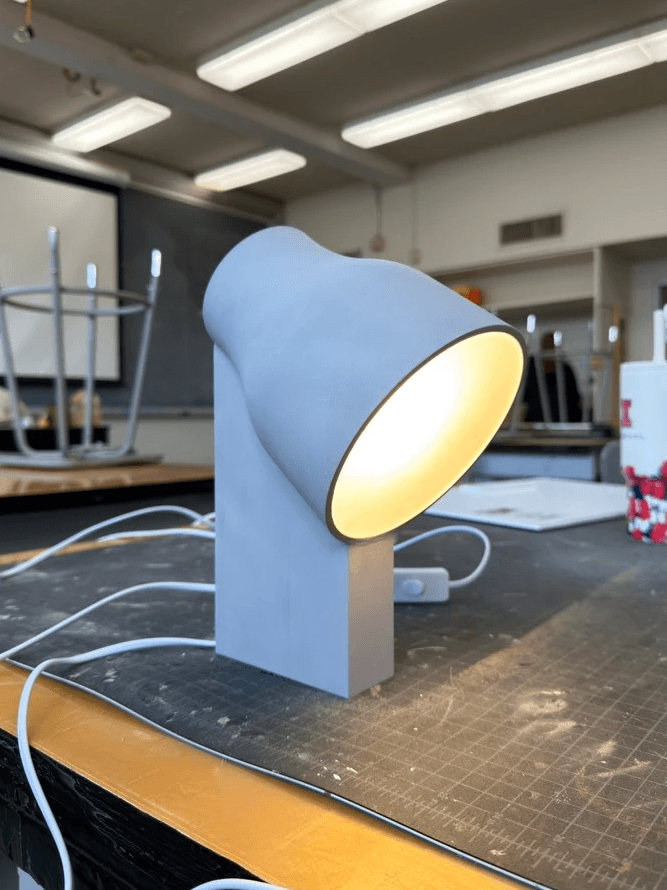
To begin the surface finish, I used Rust-Oleum’s 2-in-1 Primer+Filler and 320-grit sandpaper.
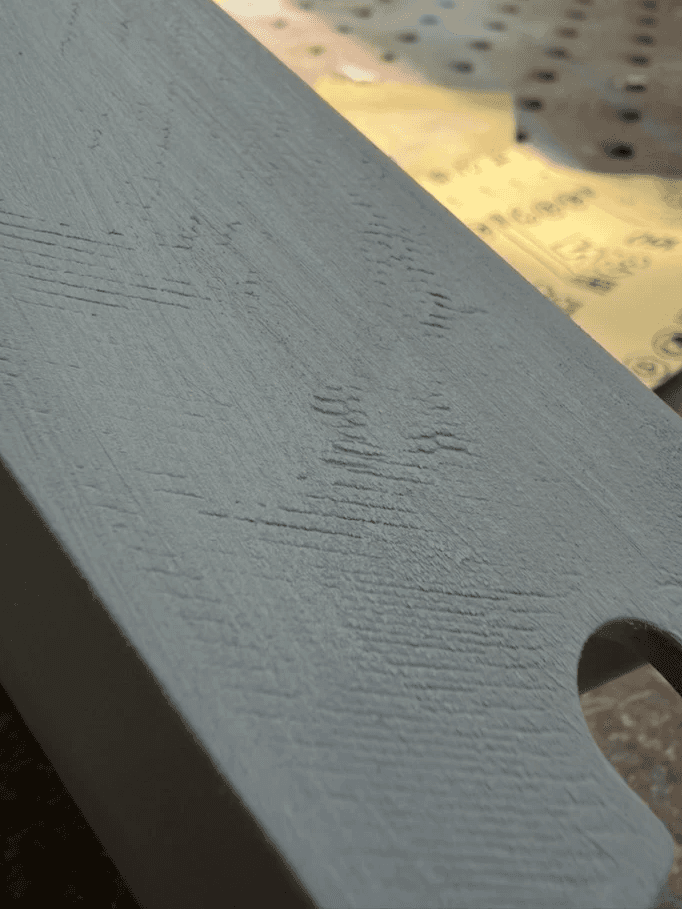
Repeated priming and sanding with finer sandpaper resolved most surface imperfections.
Early Challenges:
6
Surface Finishing: Painting
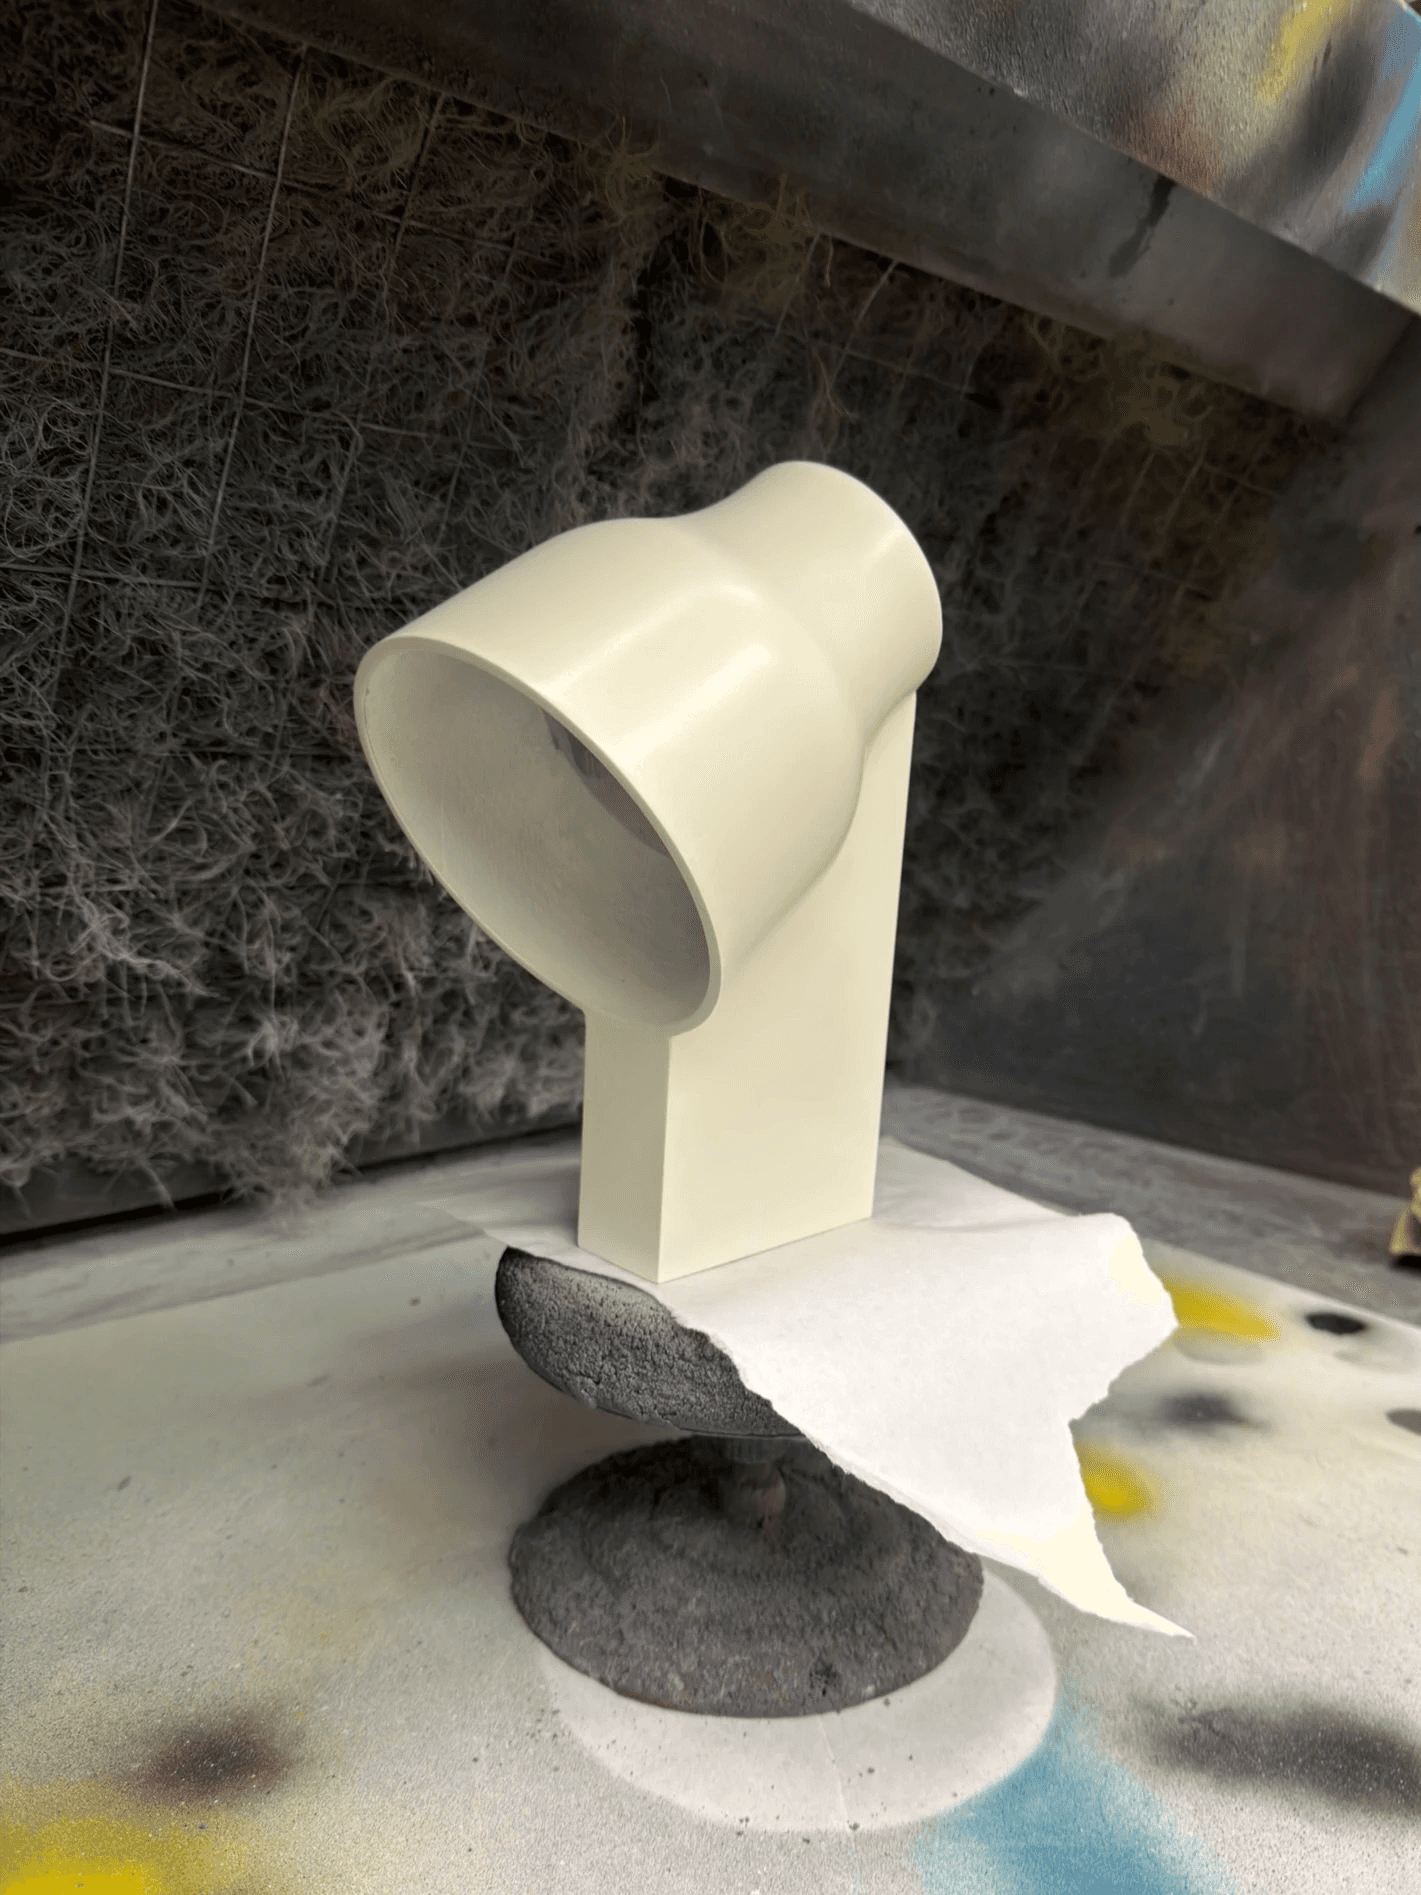
I used Rust-Oleum’s “ivory bisque” semi-gloss spray paint to color the lamp.
Similar to priming, painting required multiple coats for solid color and sanding in-between coats for a flawless finish.
6
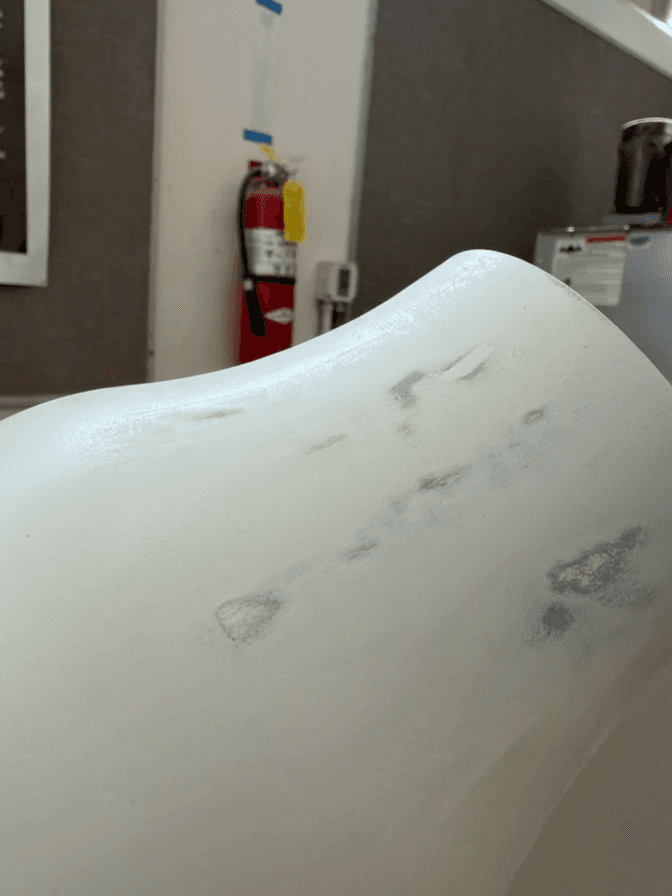
Surface imperfections
I used filler paste and repeated sanding to remove surface imperfections during the painting process.
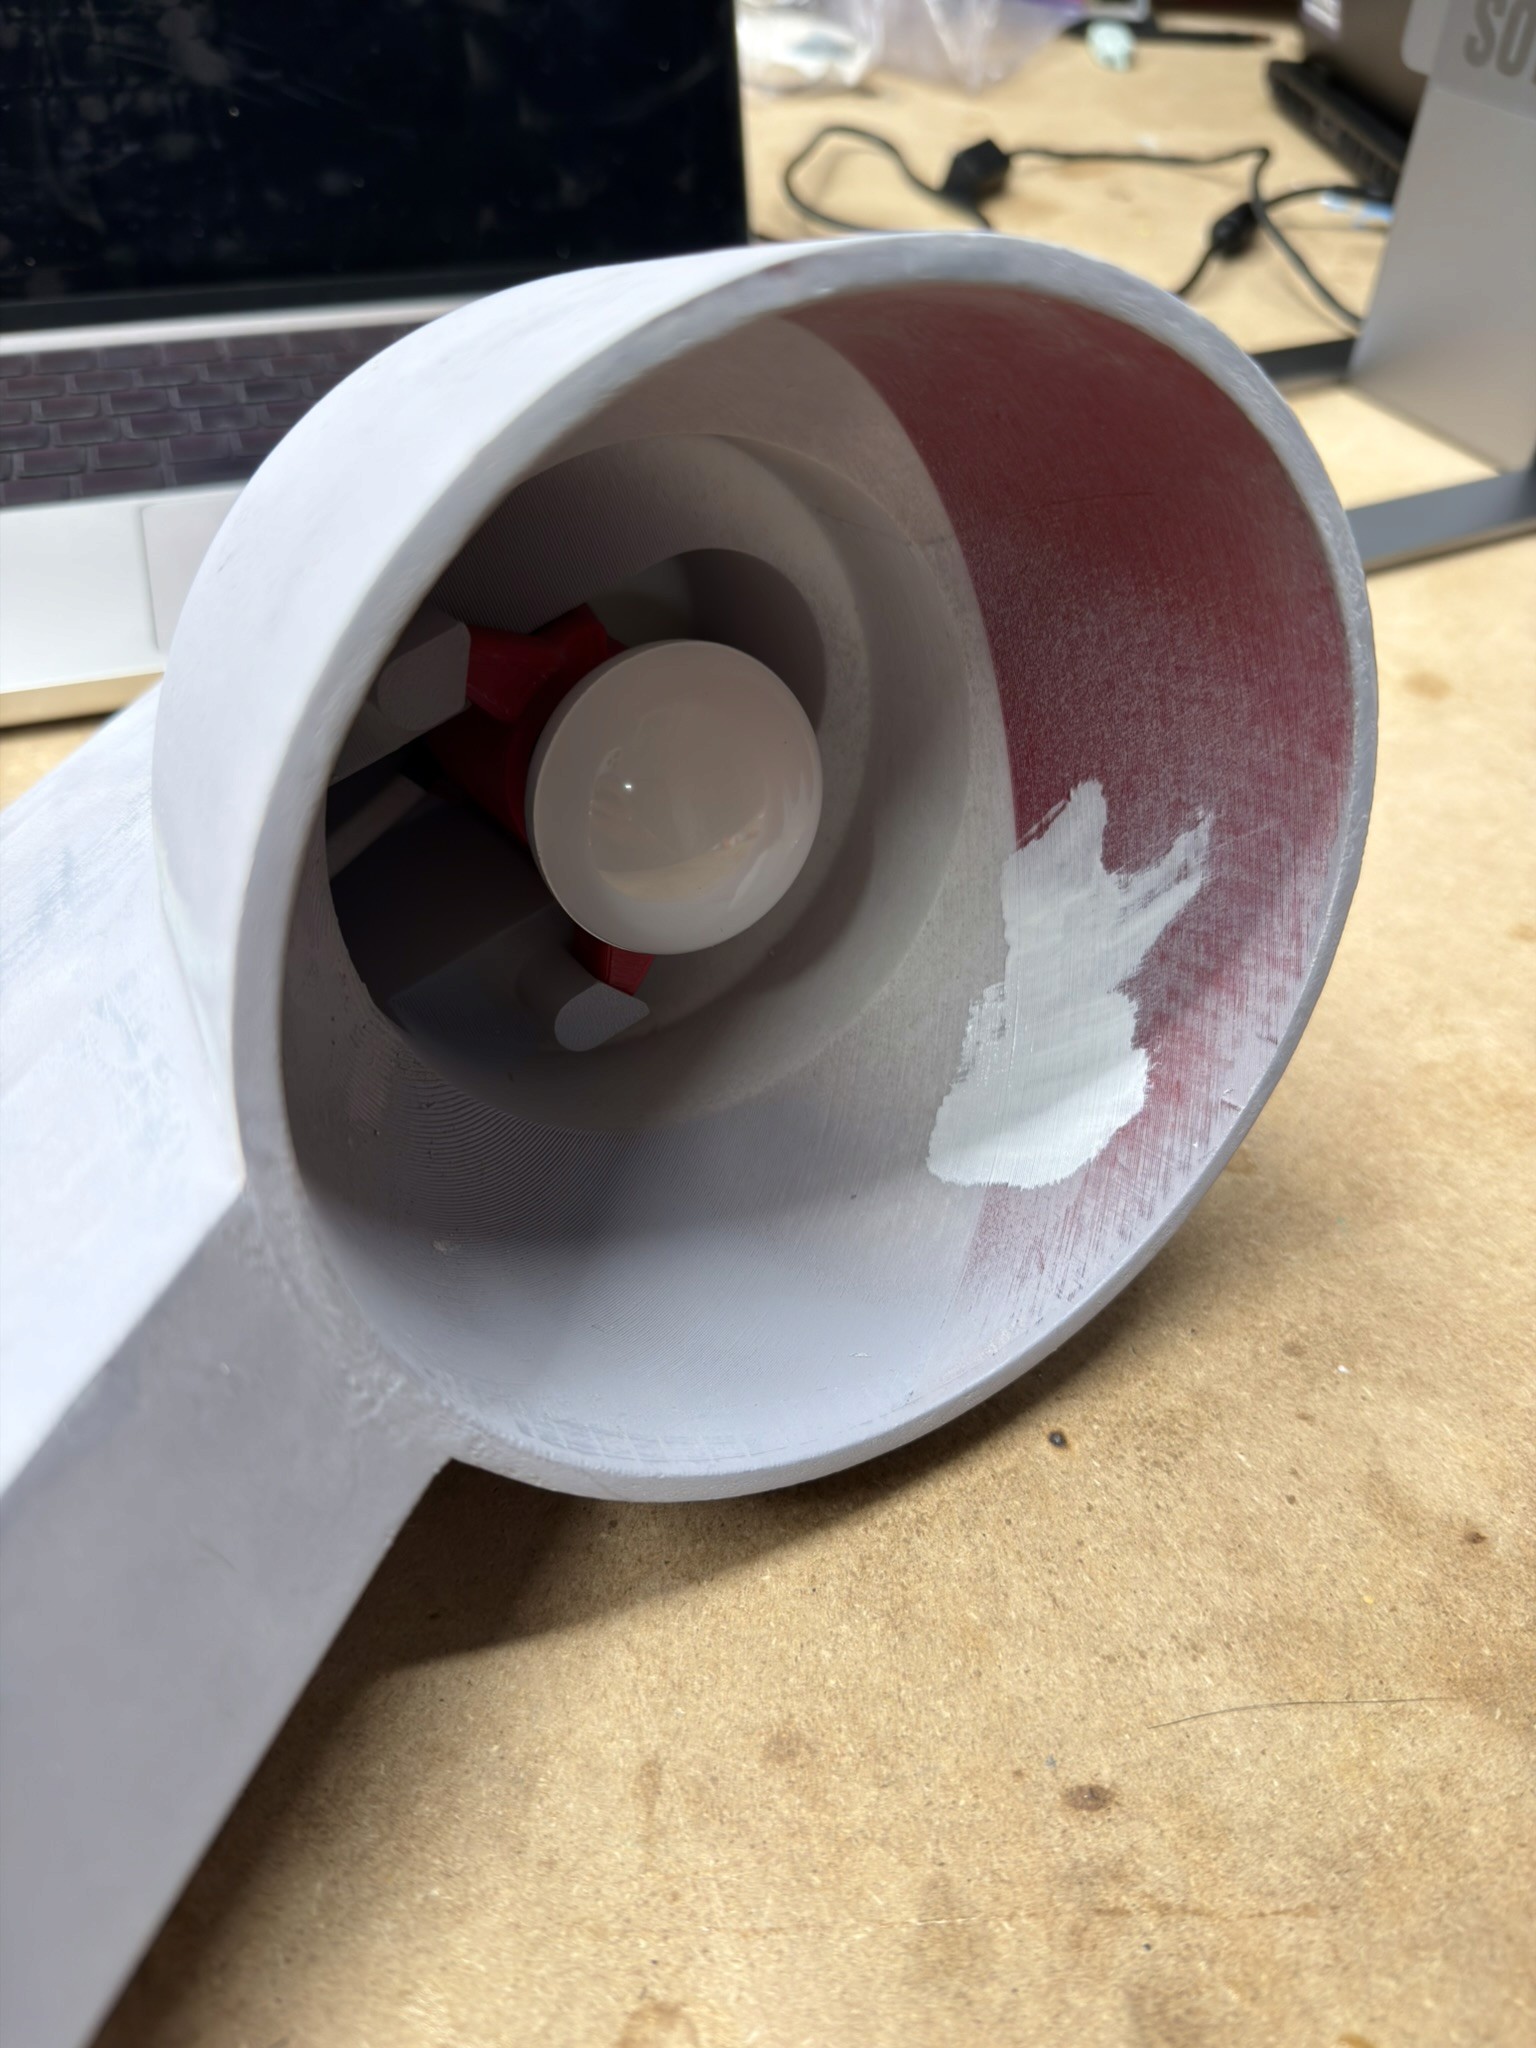
I painted the light’s interior with white paint to prevent the red filament from showing through the diffuser.
Preventing unintentional colors
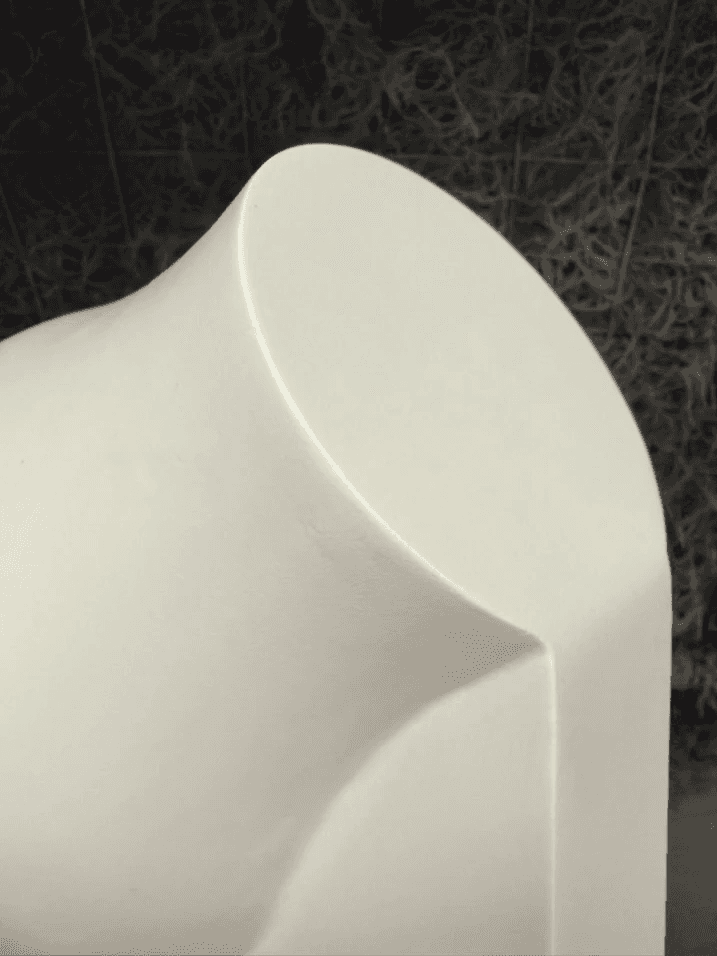
Clear coating
I applied a matte coating for surface protection and additional matte texture.
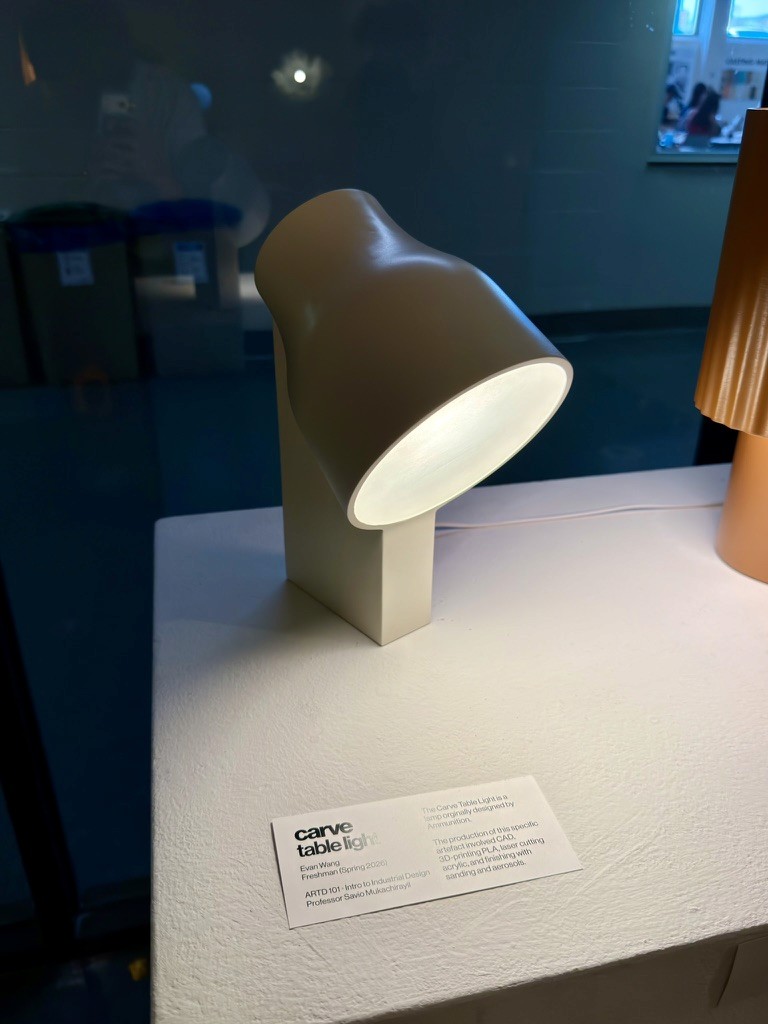
end of this process book